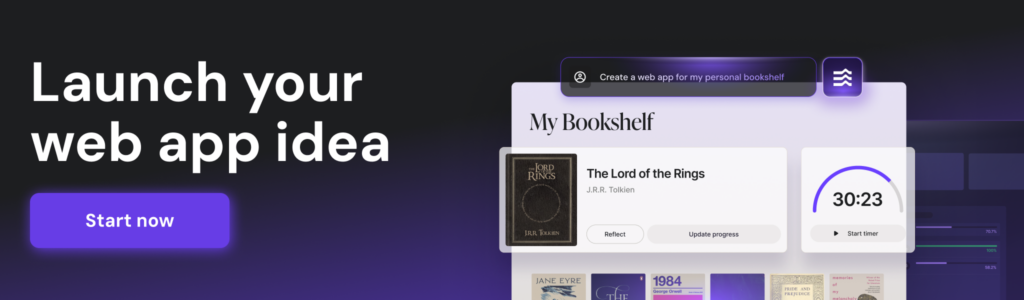
How to create a travel organizer web app
I love visiting new places and trying local food, but planning my trips is often a headache.
I save my trip details in different notes, emails, or even chat windows. It can be a mess trying to keep everything in one place, so I thought, why not build something to make it easier?
In this article, I’ll walk you through how I built my own travel planner web app with Hostinger Horizons. The best part is you don’t need to know how to code. Let’s go!
Why I decided to build a travel planner web app
It all started with the need to organize my trips. I wanted somewhere to save all my upcoming trip details and itinerary in one place.
Here are the key features I imagined:
✅ Trip itinerary planner.
✅ Budget and expense tracker.
✅ Packing and to-do list checklist with reminders.
✅ Mobile-friendly interface.
With Hostinger Horizons, I knew it could bring my travel planner idea to life.
If this is your first time hearing about Hostinger Horizons, it’s a tool for creating custom web apps through prompting. No coding skills required – just big ideas.
Even better, the tool provides everything you need to quickly deploy your web app. It includes hosting, easy domain connection, and free email. Plus, it’s risk-free with a 30-day money-back guarantee.
The blueprint of my travel planner web app
Setting a clear goal is one of the best practices when using Hostinger Horizons.
To help me write prompts effectively, I created a blueprint for my web app. As this is a personal project, I kept it simple by listing the four pages I want and their contents:
✅ Dashboard
- Clean user interface with a welcome message.
- “Add new trip” button.
- A preview widget of my saved trips.
- Upcoming trip reminder.
- Reminders widget.
✅ Itinerary
- Left sidebar: List of trips and days.
- Main section:
- Drag-and-drop itinerary timeline according to the hours of the day.
- An edit button to add or manage activities.
✅ Bookings
Create separate tabs:
- Transport – show the flight or train schedules.
- Hotels – hotel name, check-in, and check-out time.
- Activities – list of booked activities, timetable, ticket files.
- Expenses – input the total budget of the trip. It’ll be reduced gradually with every expense I add. The progress bar and total amount will also show up.
✅ Checklist
- Editable packing items list with checkboxes.
- Editable to-do list with checkboxes.
I didn’t have any interface design preferences, so I let the tool surprise me. If you have a specific design in mind, it’s best to have a wireframe that you can recreate.
Pro tip
Check out our web app design tips to create a next-level user interface.
How I built my travel planner web app with Hostinger Horizons
The first step was to access Hostinger Horizons.
If you have an active Hostinger hosting plan, Hostinger Horizons is accessible for free with a daily limit of five messages. To unlock more messages, Hostinger Horizons plans start at RM86.99/month.
Pro tip
Read our guide on getting started with Hostinger Horizons to learn how to set it up and its features.
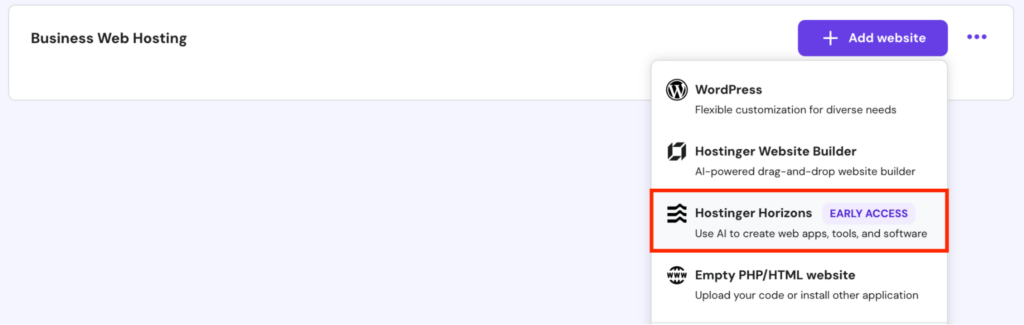
Since I already had an active hosting plan, I simply logged in to hPanel and went to Websites → Websites list → Add website → Hostinger Horizons.
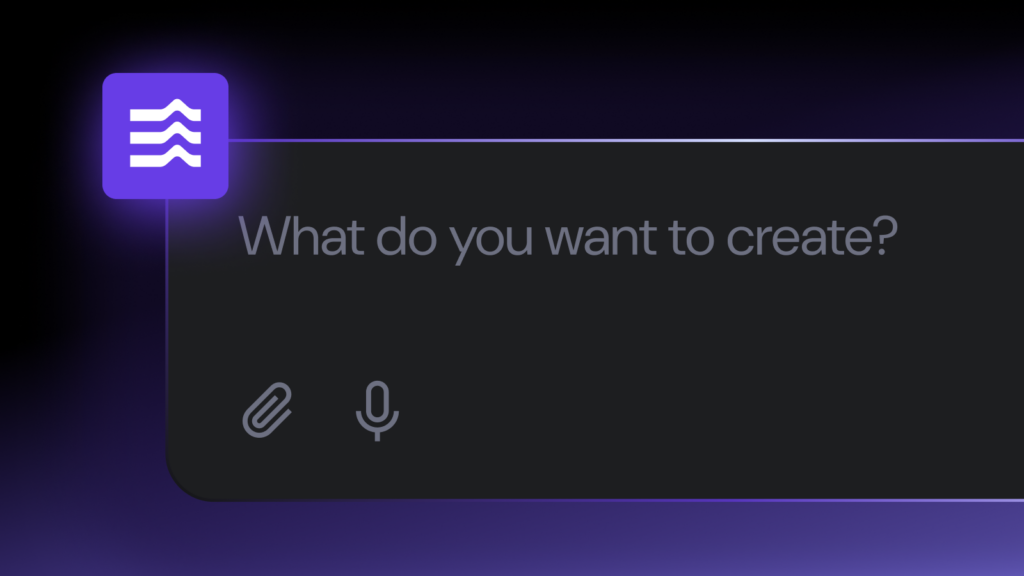
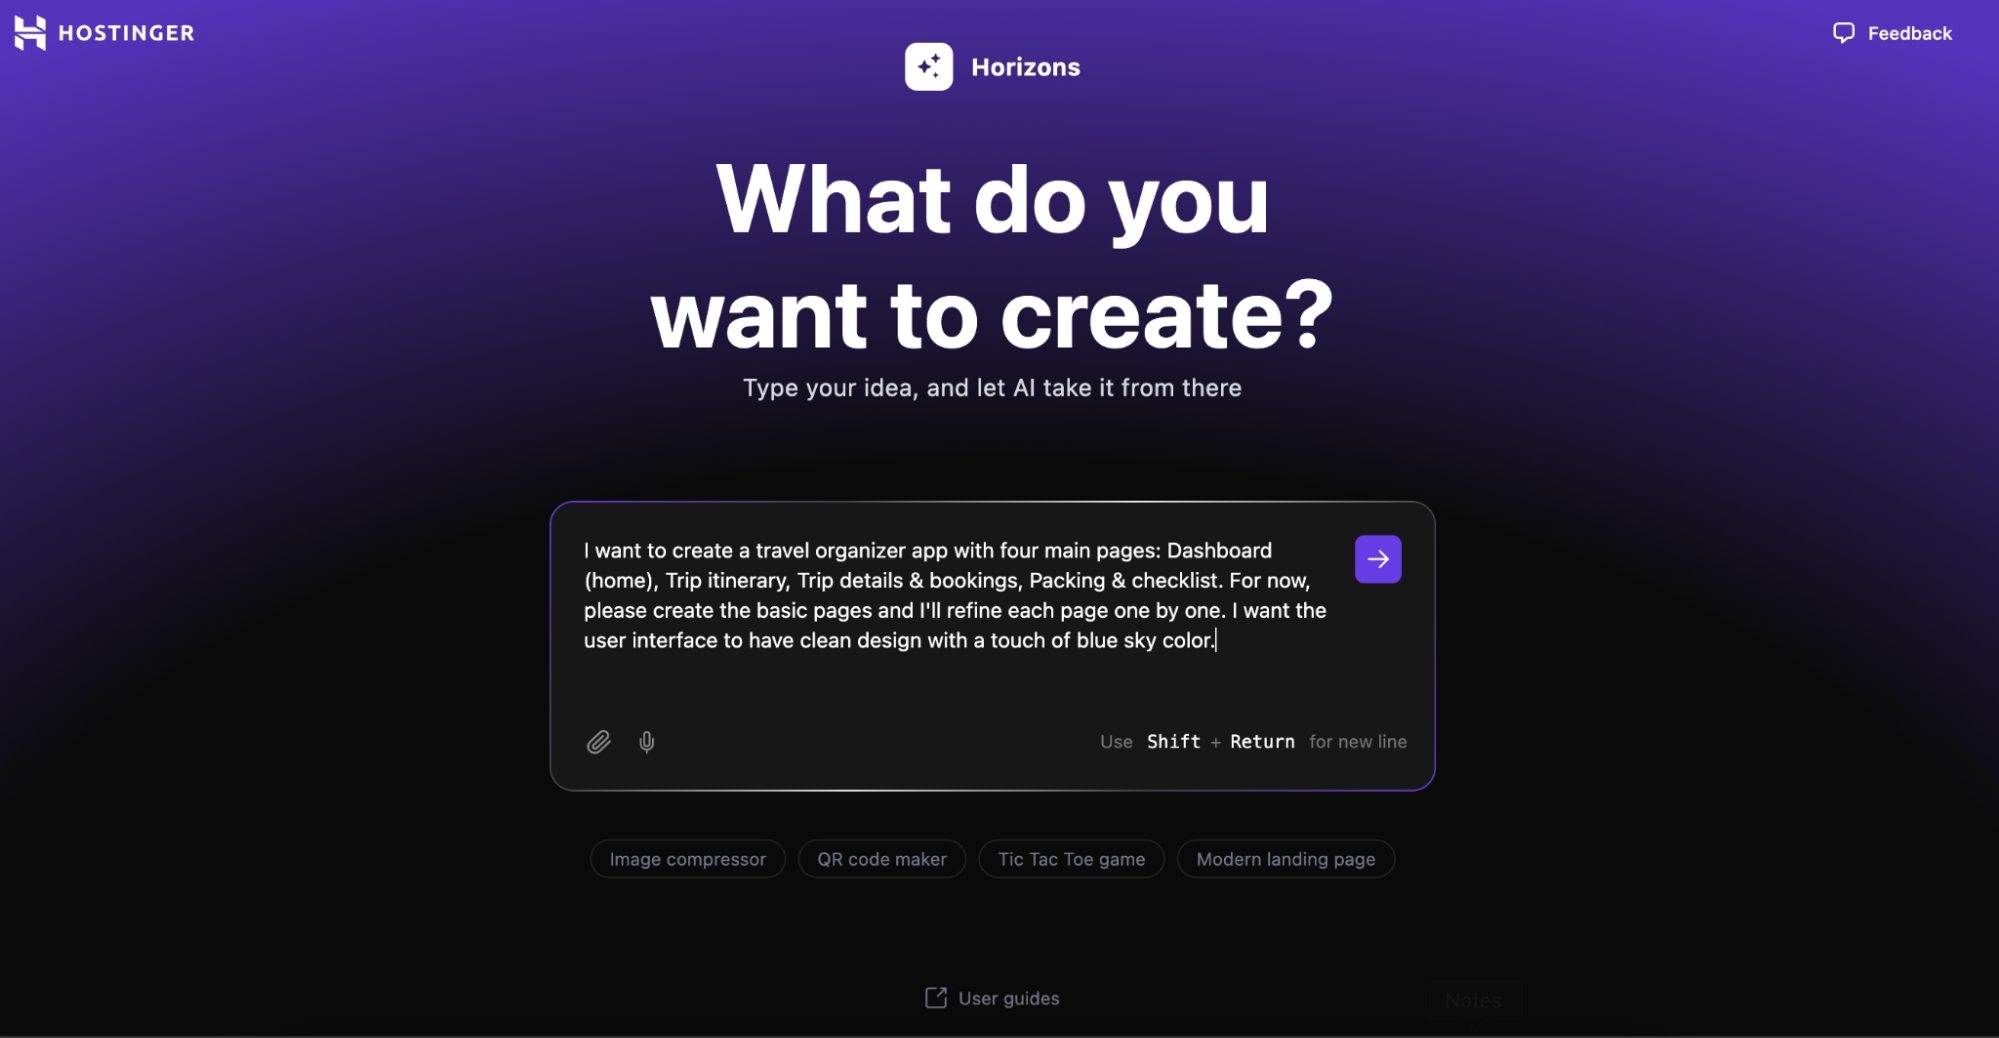
Once I got to the Hostinger Horizons page, I entered my first prompt:
I want to create a travel organizer app with four main pages: Dashboard, Itinerary, Bookings, and Checklist. For now, please create the basic pages and I'll refine each page one by one. I want the user interface to have a clean design with a touch of blue sky color.
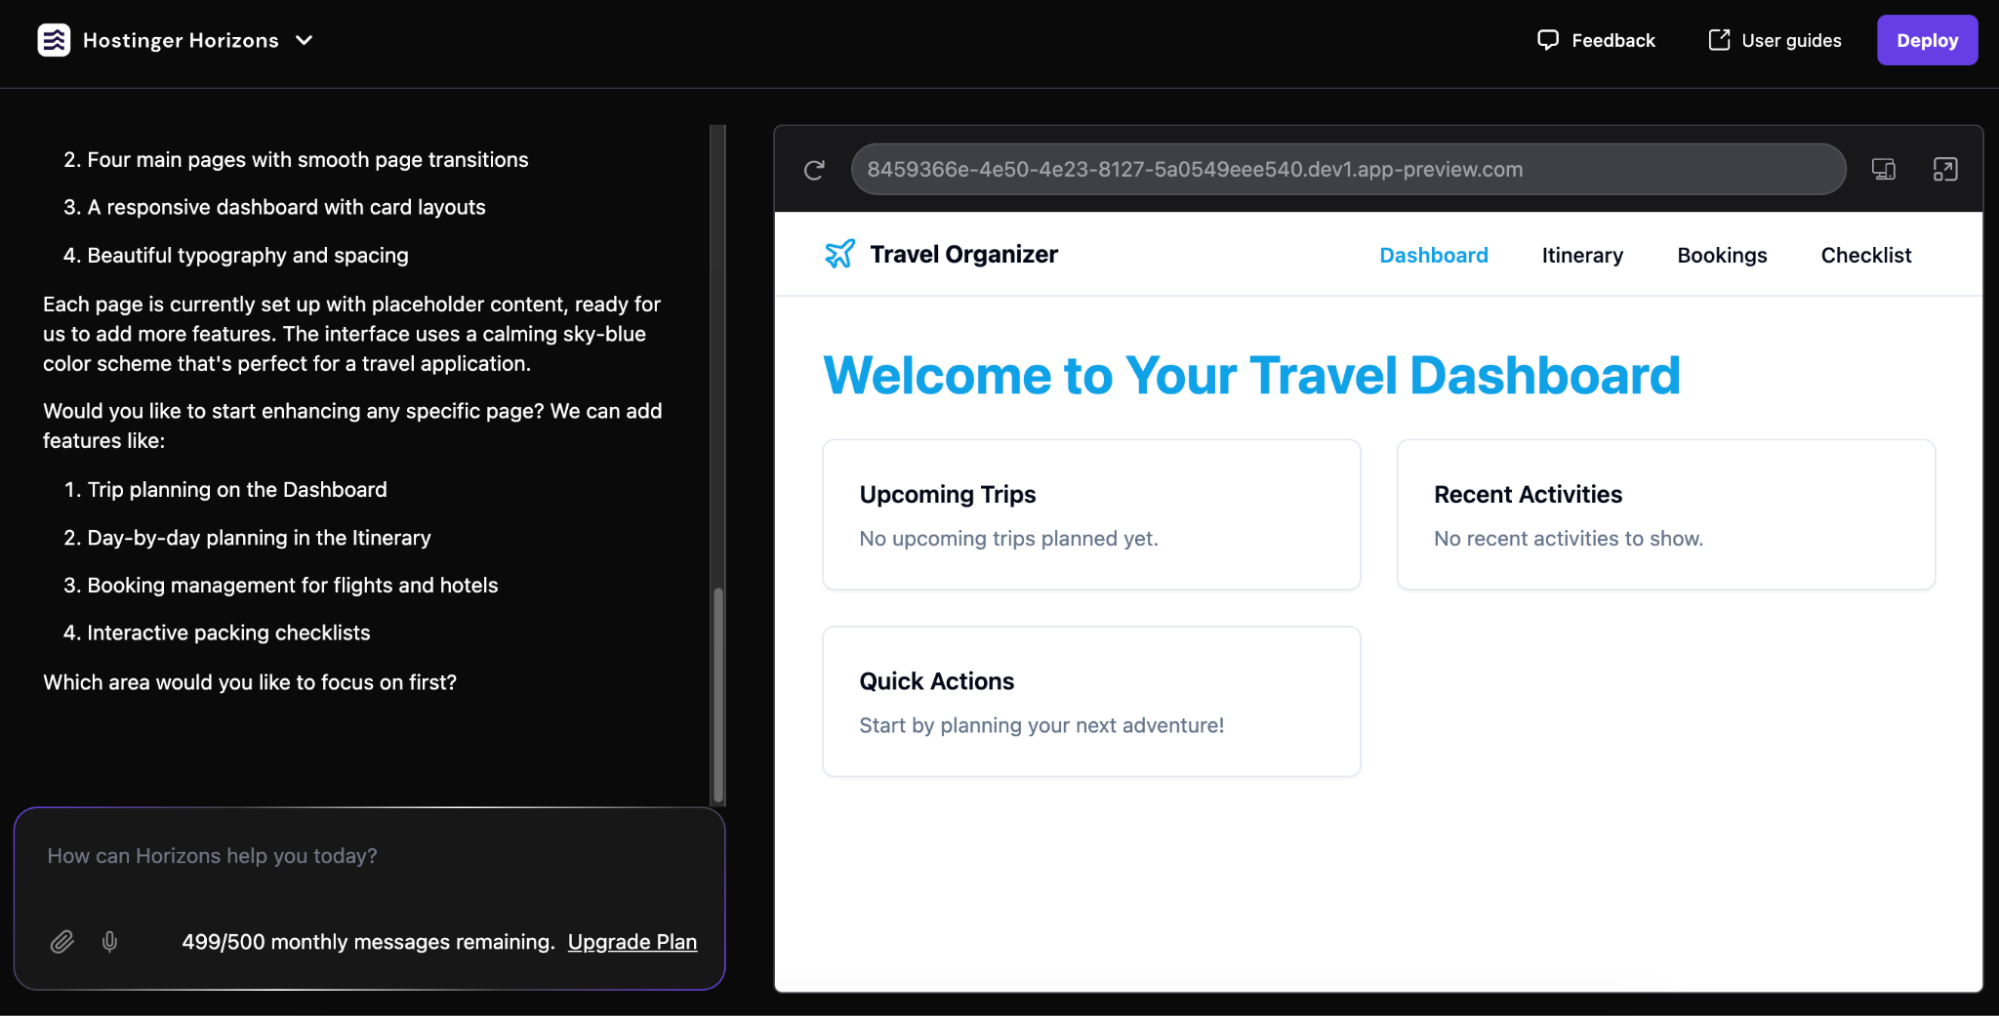
After a few moments, the web app preview appeared on the right pane of the screen. On the left side, I can interact with the AI chatbot to refine the web app.
Designing the Dashboard
The first version of my web app was very plain, but it was expected, given the lack of details I added to the prompt.
Remember my web app blueprint? For my second prompt, I included my requirements for the Dashboard. Then, I gave follow-up instructions to refine it.
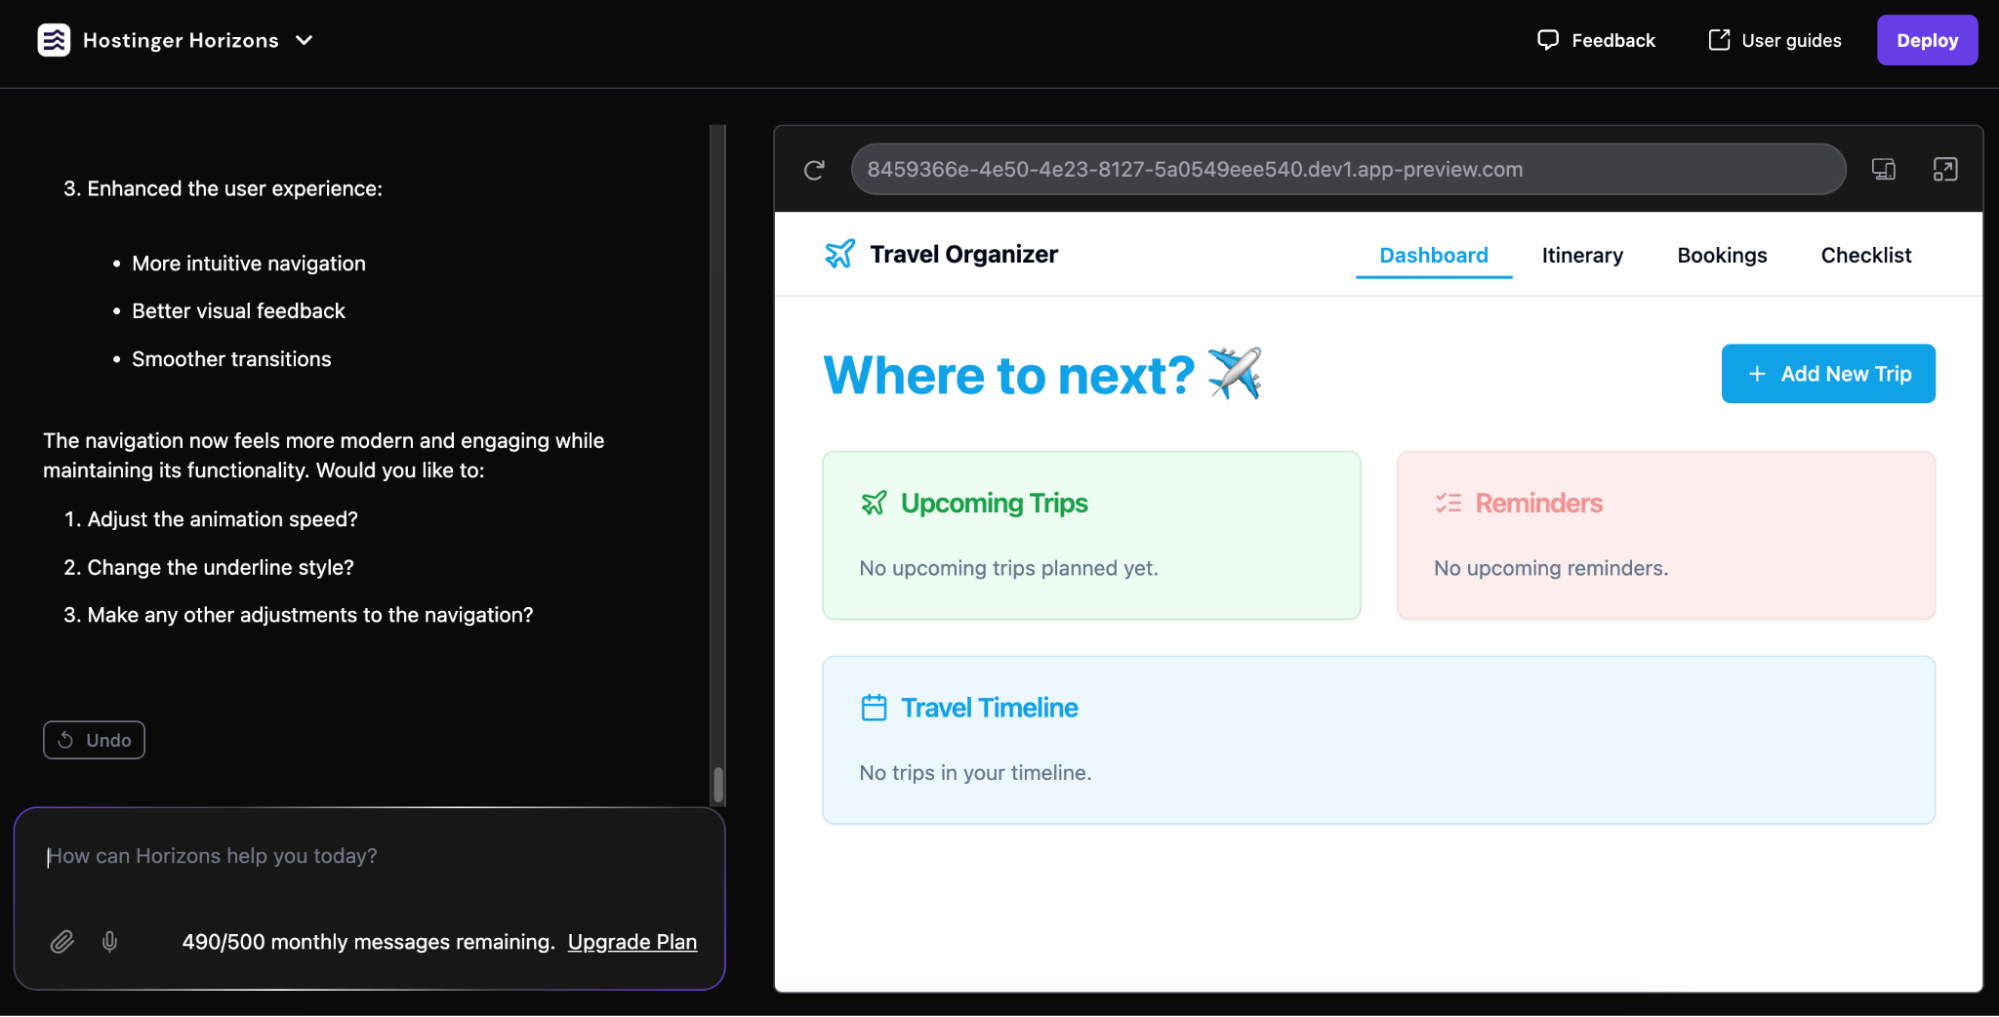
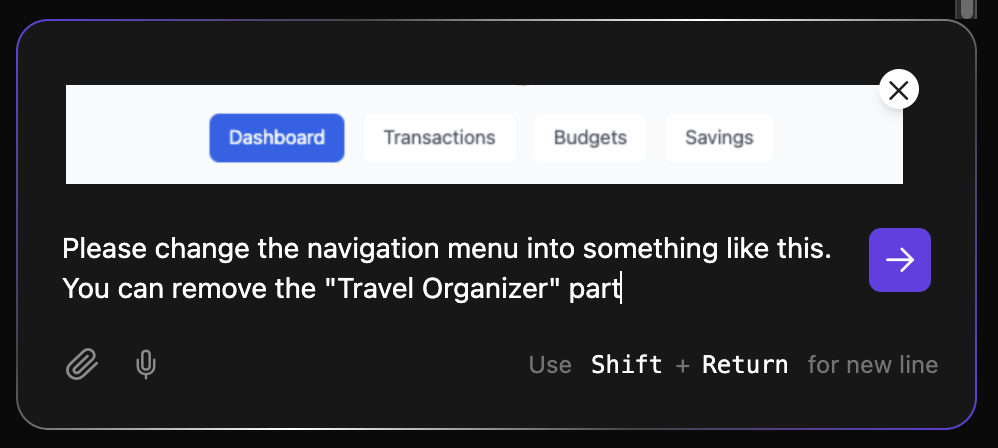
Still, I wasn’t fully satisfied with the navigation bar. So, I asked the tool to change it by adding a reference image in my prompt. I did this by dragging and dropping the image into the prompt box and entering another prompt.
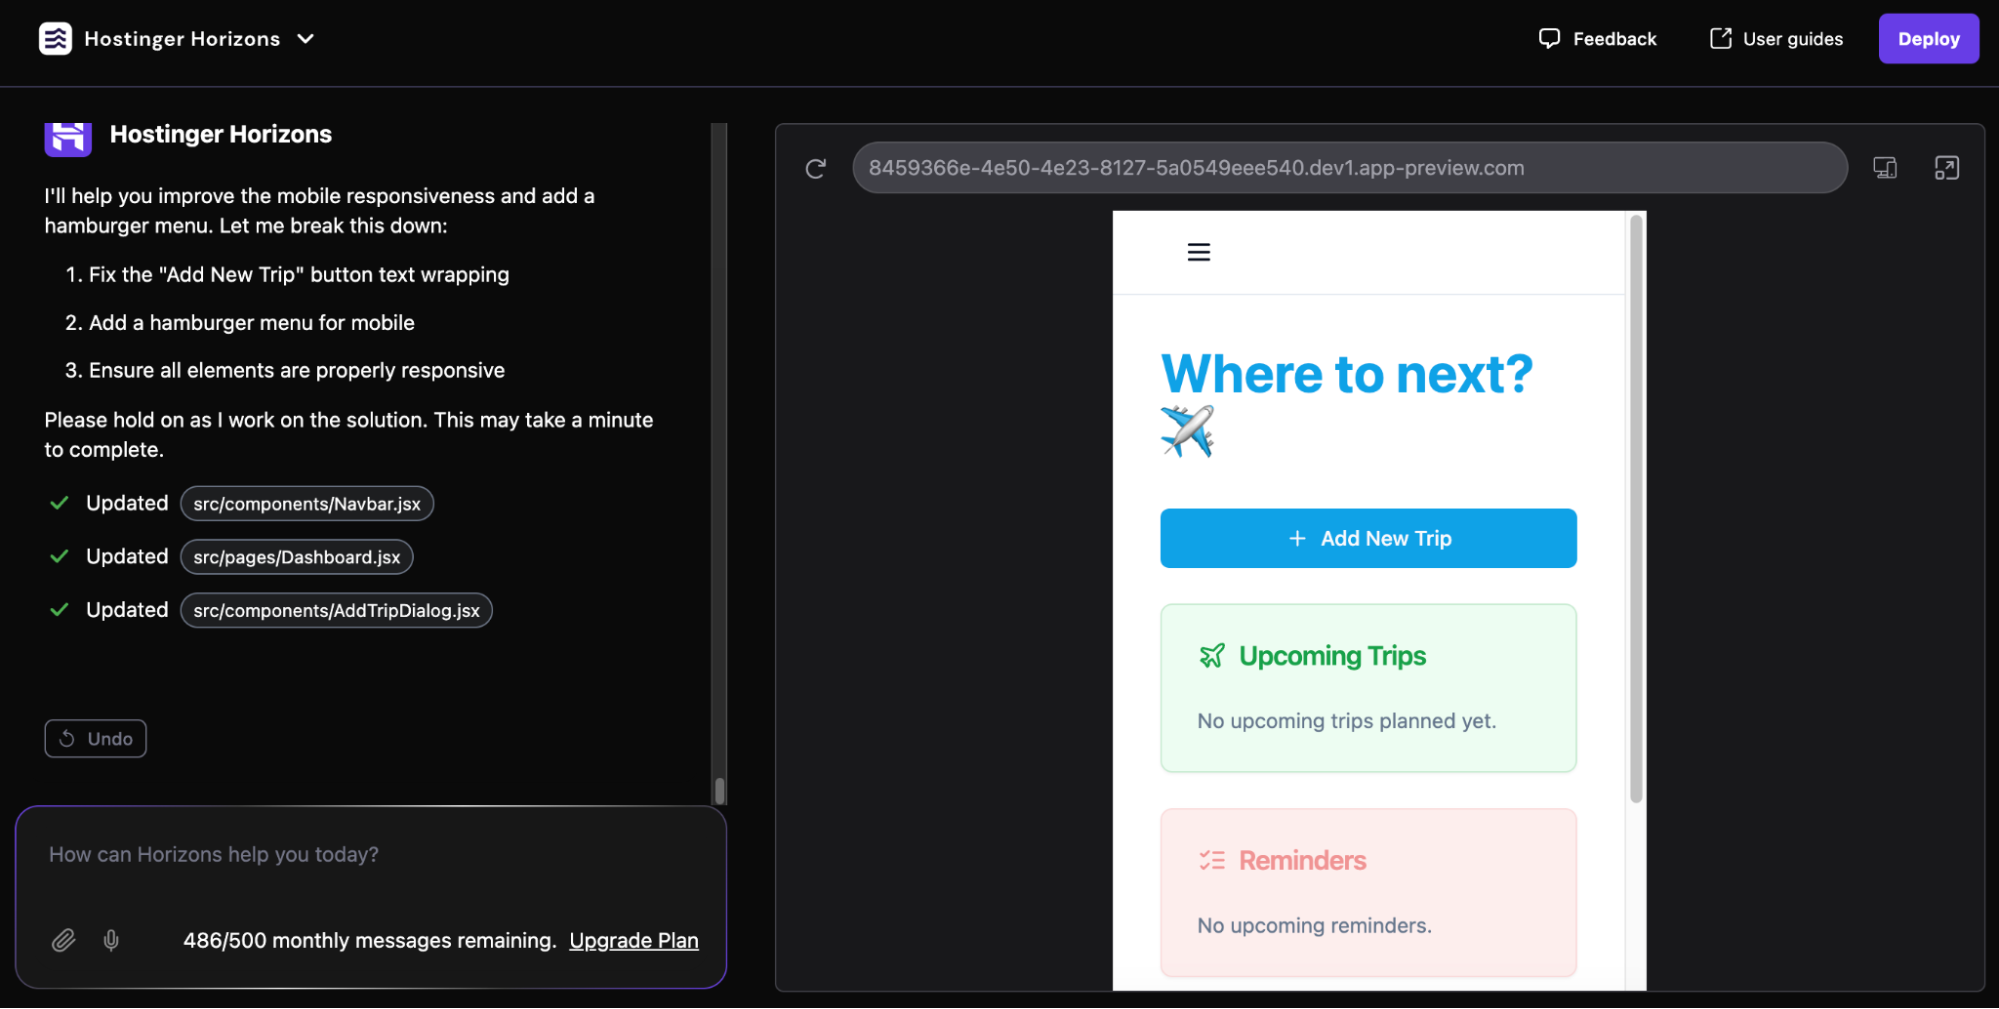
Next, I checked my web app’s mobile version by clicking the change preview display icon.
The main action button and navigation menu didn’t fit on the screen, so I asked the tool to fix it for me.
Designing the Itinerary page
Like in the previous step, I copied and pasted the Itinerary page features into the prompt. But I wanted it to be more intuitive, so I tweaked the prompt to make my request clearer:
I want to have a drop-down menu to select saved trips. Once a trip is selected, users will see the list of trip days in the left sidebar. The main area will show the hours of the day with a drag-and-drop functionality to arrange activities. Please use dummy data so I can visualize it better, too.
I got better results this time around, but I couldn’t input or edit activities. The AI chatbot asked if I wanted to add this feature in its response.
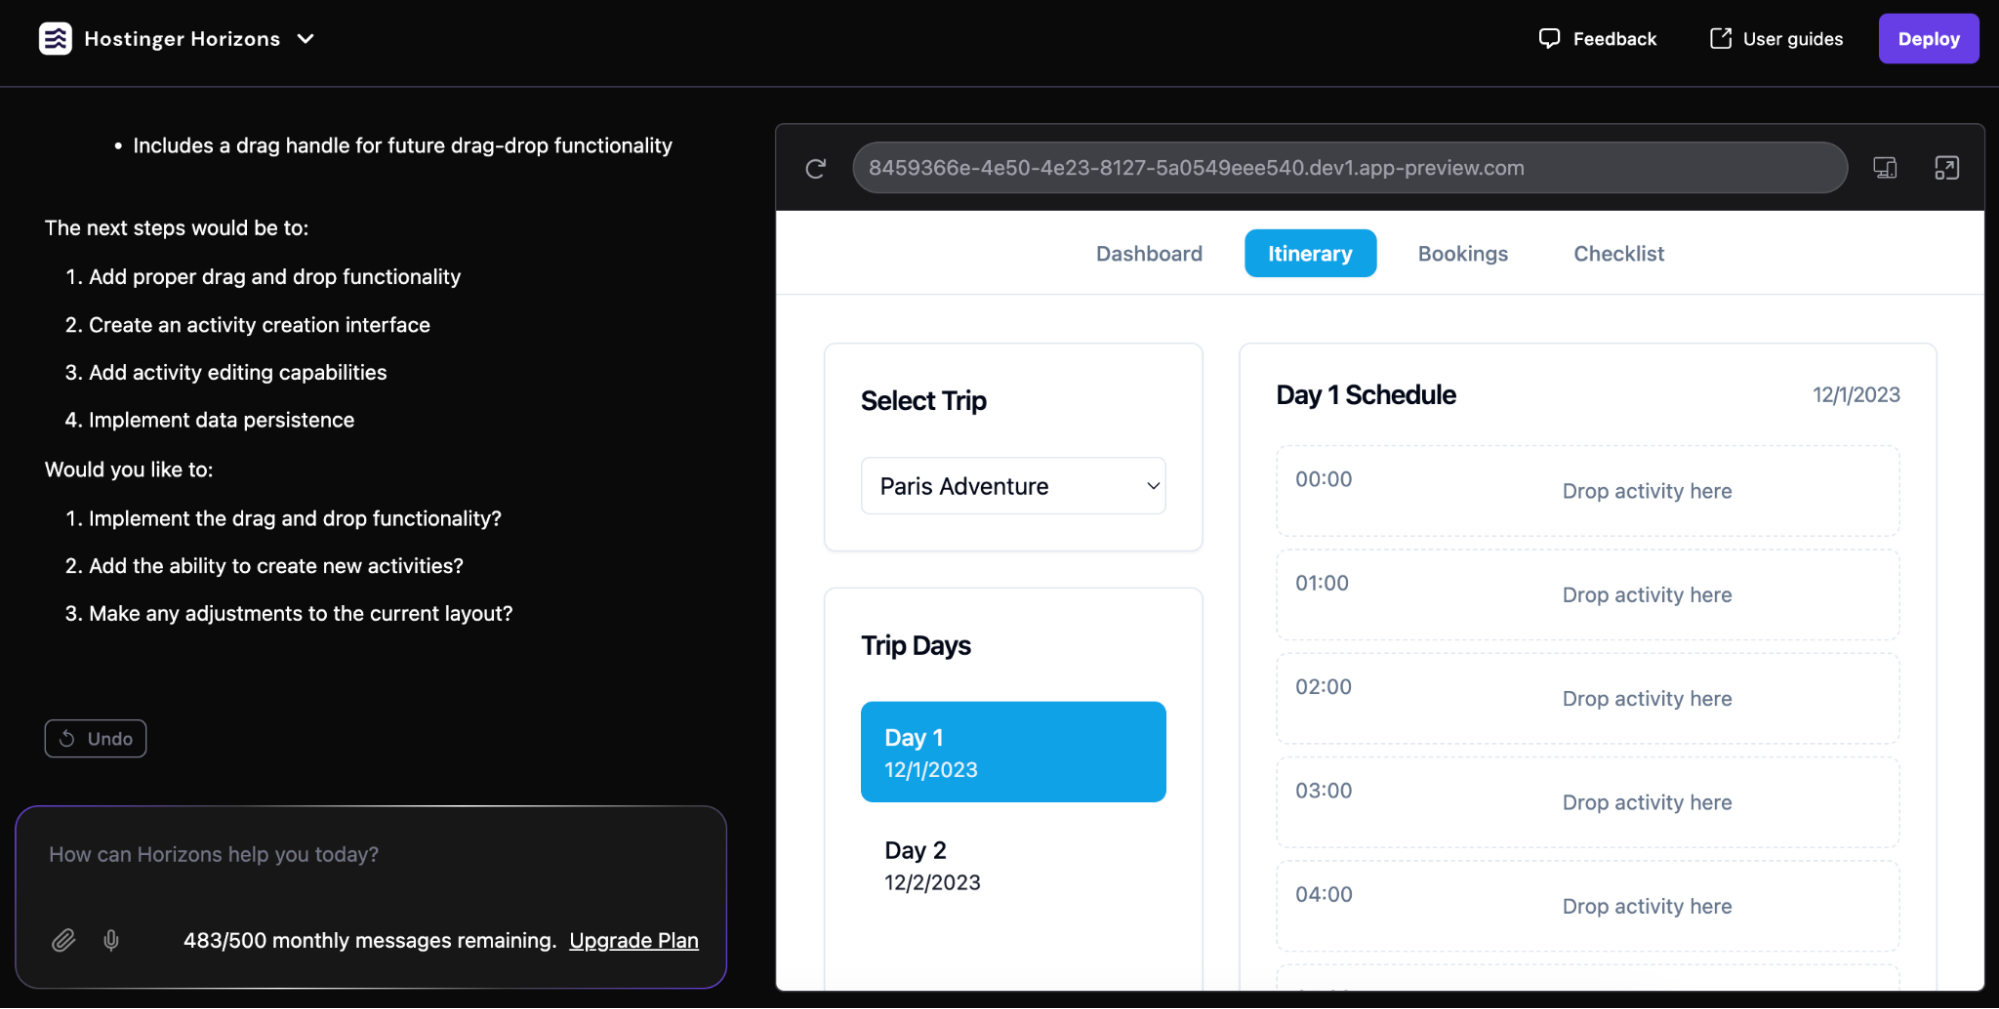
I followed the suggestion while also iterating my preferred layout.
Designing the Bookings page
With Itinerary done, I moved on to the Bookings page. Just like the other two, I copied and pasted my requirements for this page into the prompt box.
This time, I got the interface design I imagined, but the action buttons were yet to work.
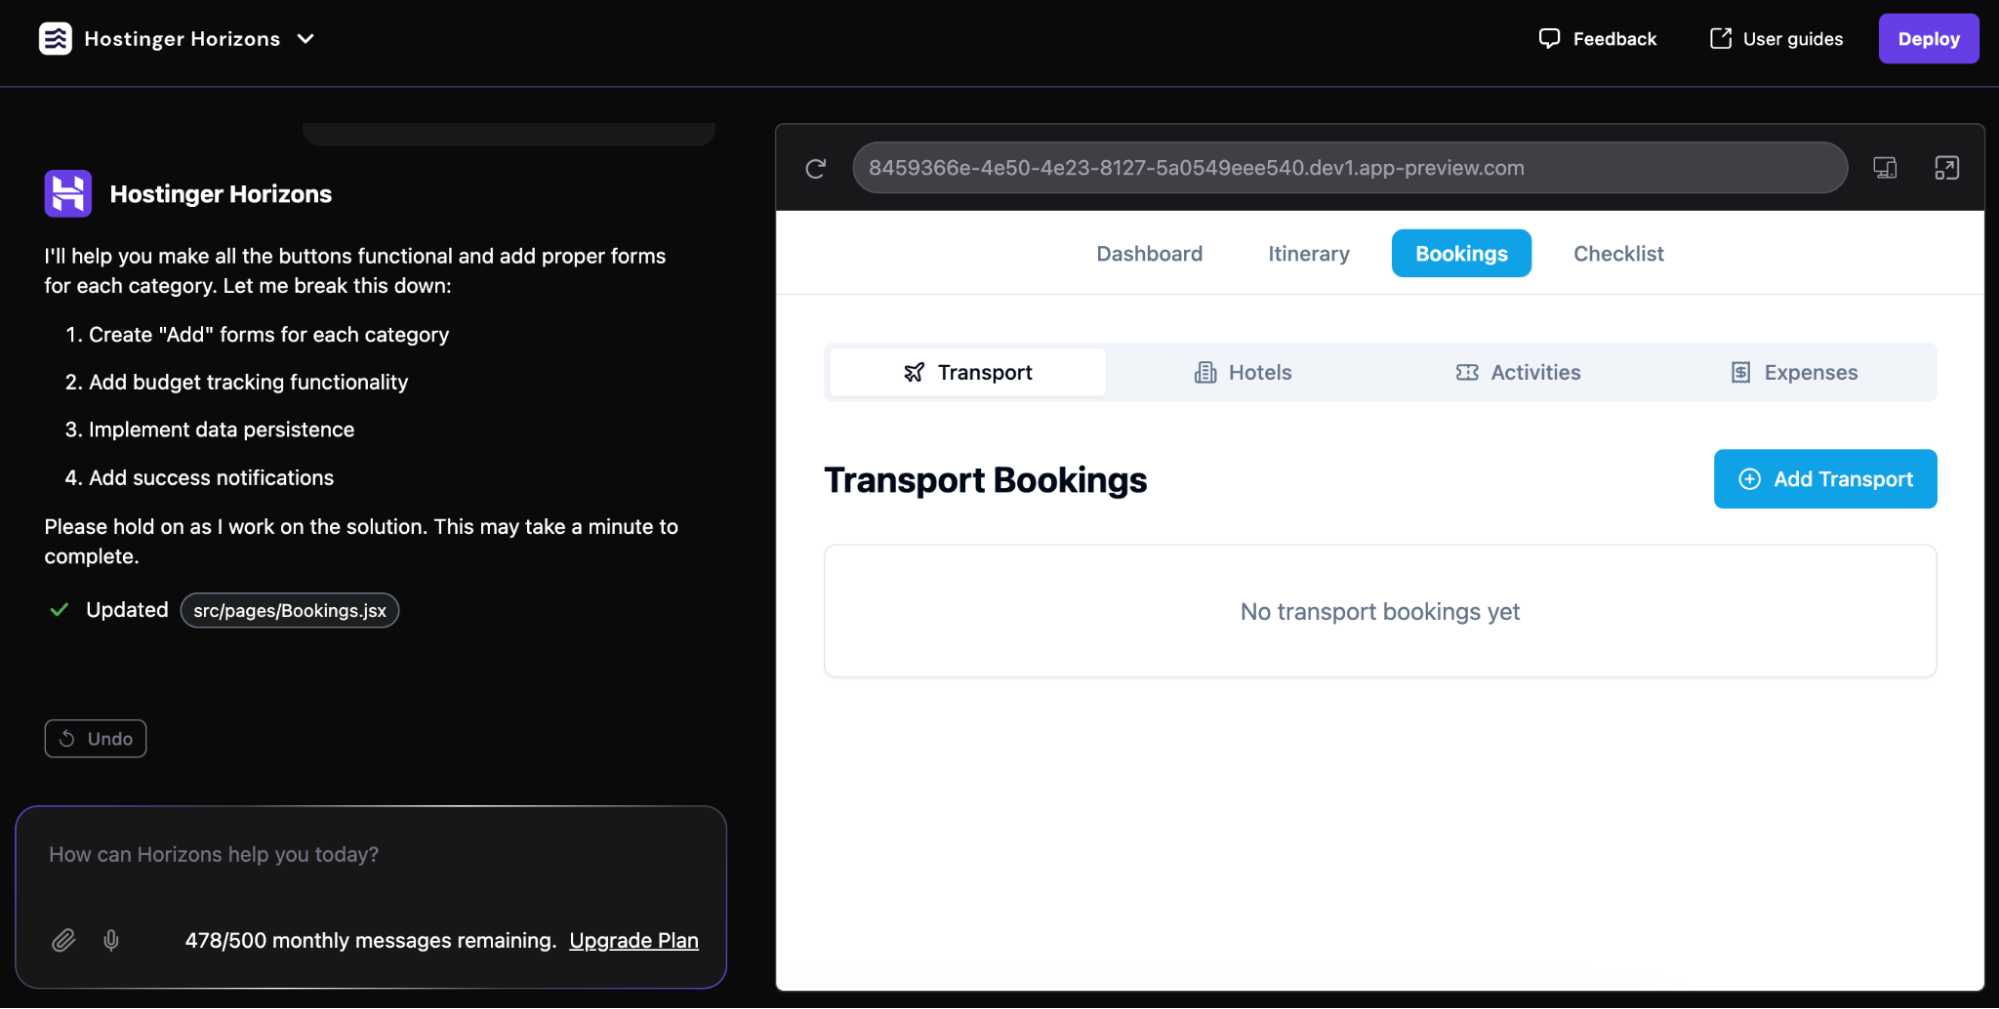
So, I asked the tool to make the buttons function as I wanted them to. This was the prompt I used for fixing the Add Transport button:
For the Add Transport button, I want options for train, bus, and flight with relevant details like schedule, ticket number, etc. Also, please add a field to upload the ticket file.
Next, I asked the AI to add a progress bar to the Expenses tab so I could easily see how much of the budget was left for the trip.

Pro tip
If you want to integrate third-party apps (like Google Maps, Weather, or OpenAI), you can ask the tool to connect with the APIs. However, you’ll need to generate the required API key yourself. How to do this will depend on each app, so check its documentation.
Designing the Checklist page
The last page on the app is Checklist. I decided to be more specific with my description this time:
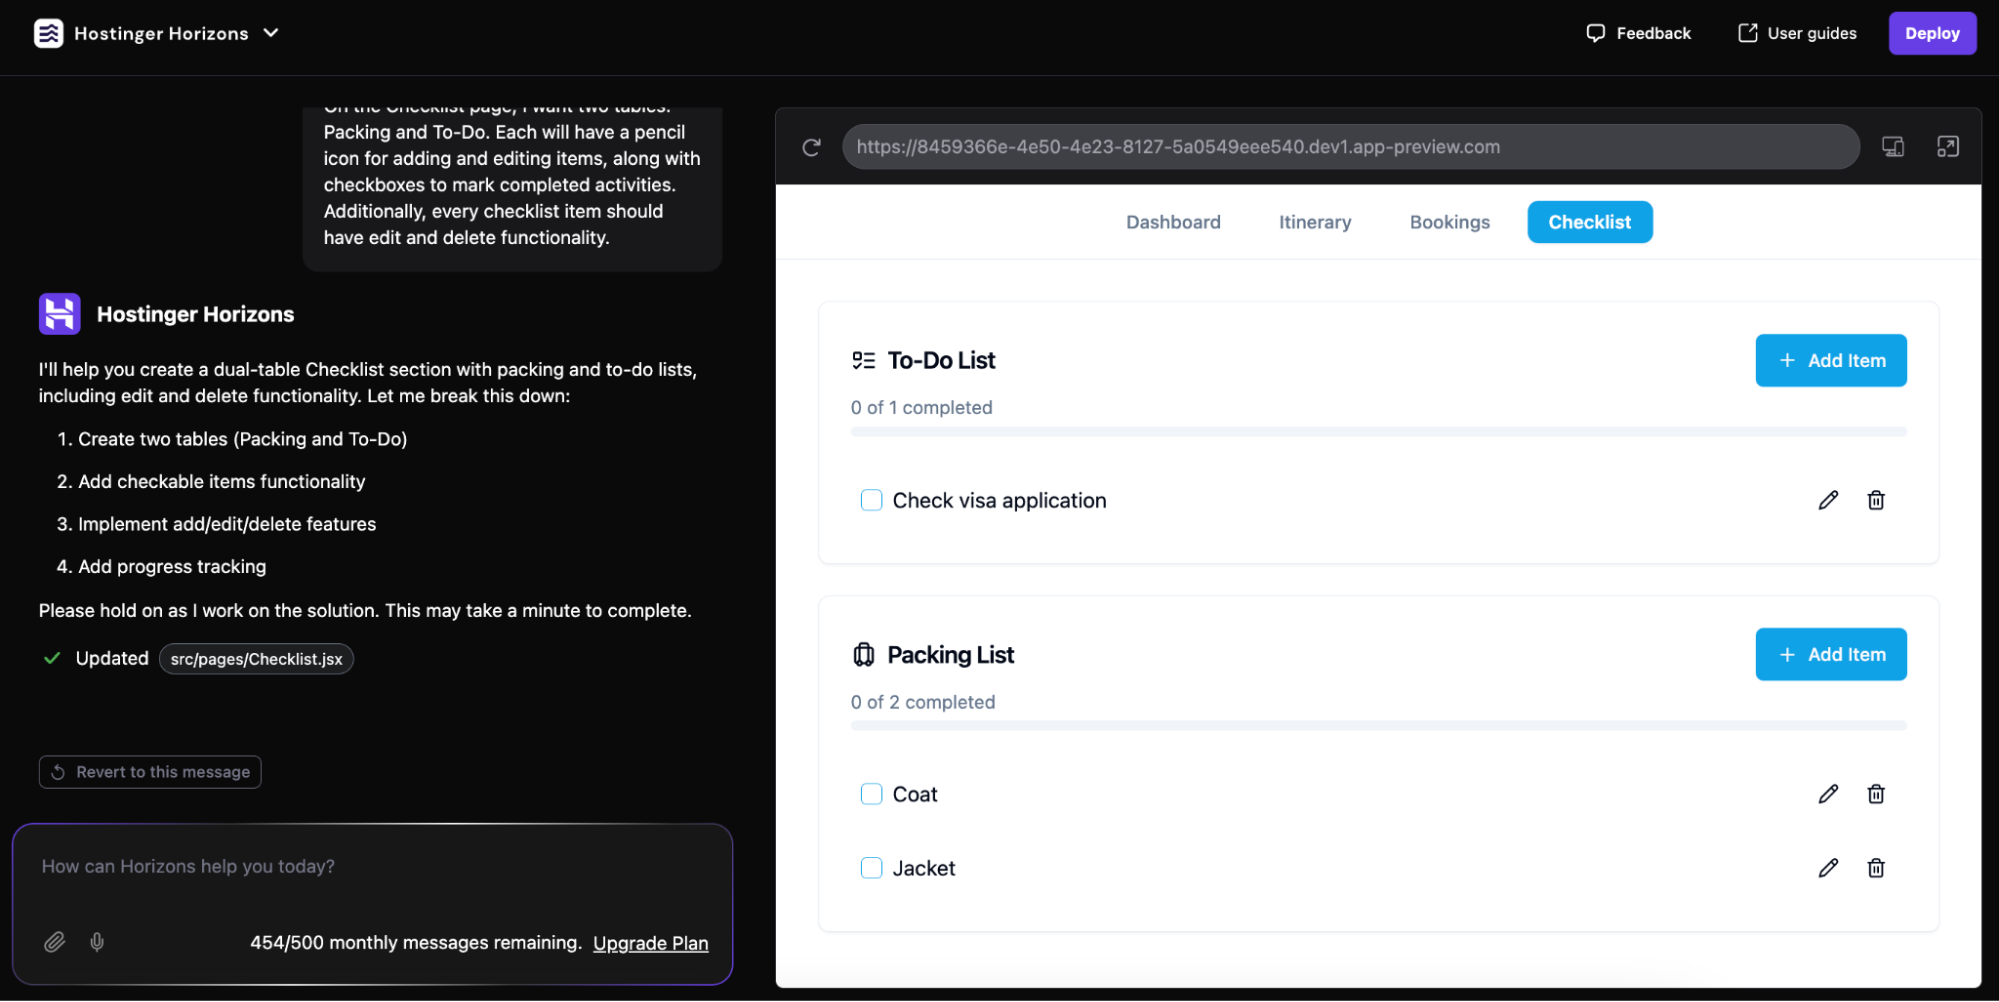
On the Checklist page, I want two tables: Packing and To-Do. Each will have a pencil icon for adding and editing items, along with checkboxes to mark completed activities. Additionally, every checklist item should have edit and delete functionality.
I got exactly what I was hoping for on the first try:
Deployment and testing
Finally, I tested my web app by adding some mock data. I also had a friend try it out and share their feedback.
I ended up doing a few more tweaks, like adding confirmation pop-ups to let the user know their data was saved and refining things to work better on mobile.
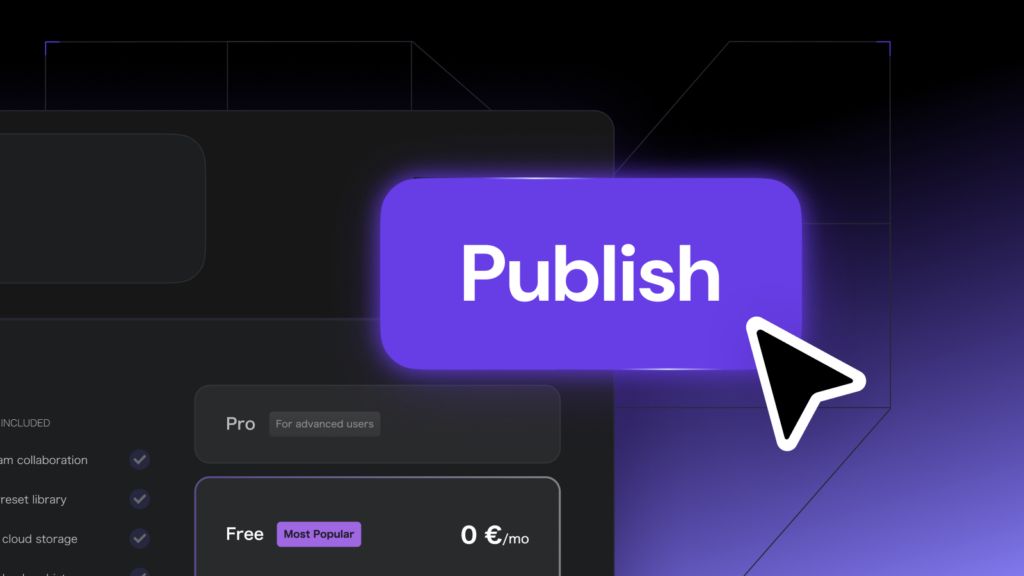
After making the final changes, I hit the Deploy button. And just like that, my web app was live with a temporary domain name.

I decided to connect a custom domain name to make my web app more easily accessible. From hPanel, I went to Websites → Websites list and clicked Change domain under my web app.

I entered the domain name I wanted to connect and clicked Next.
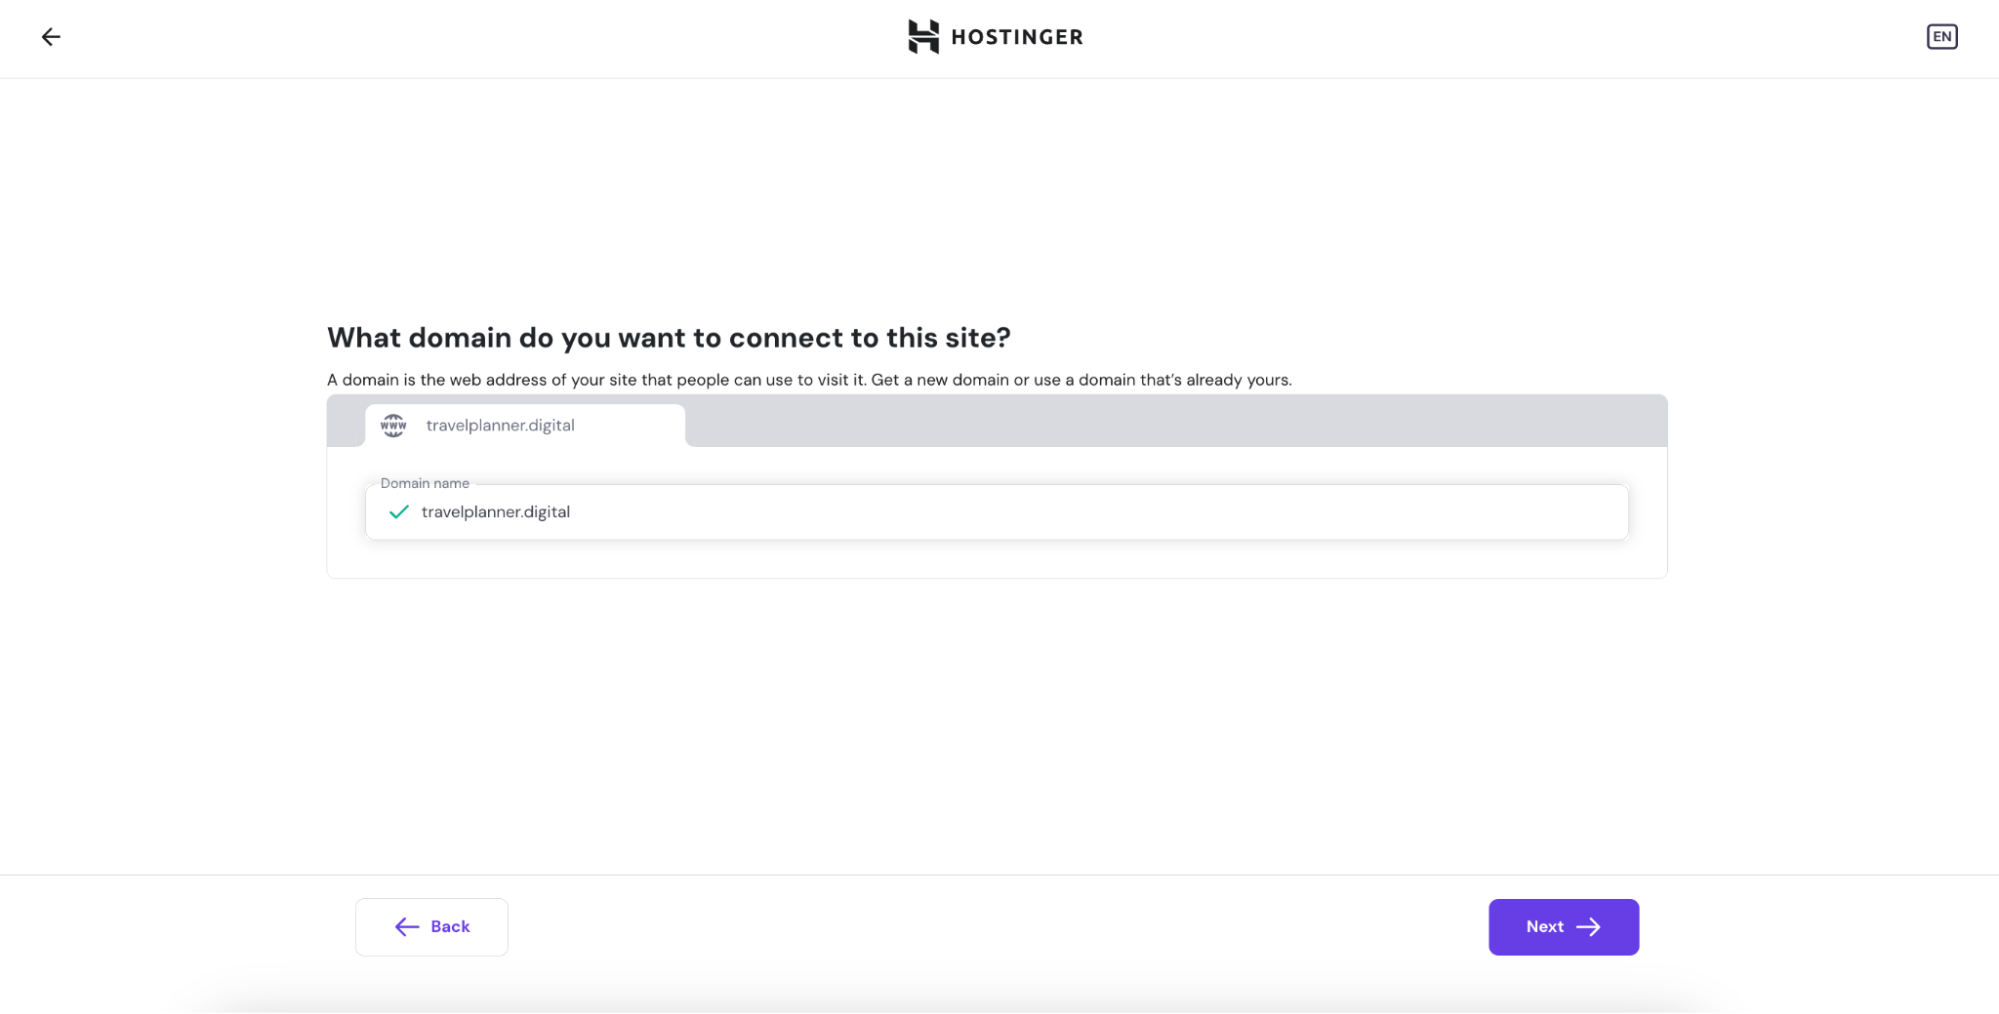
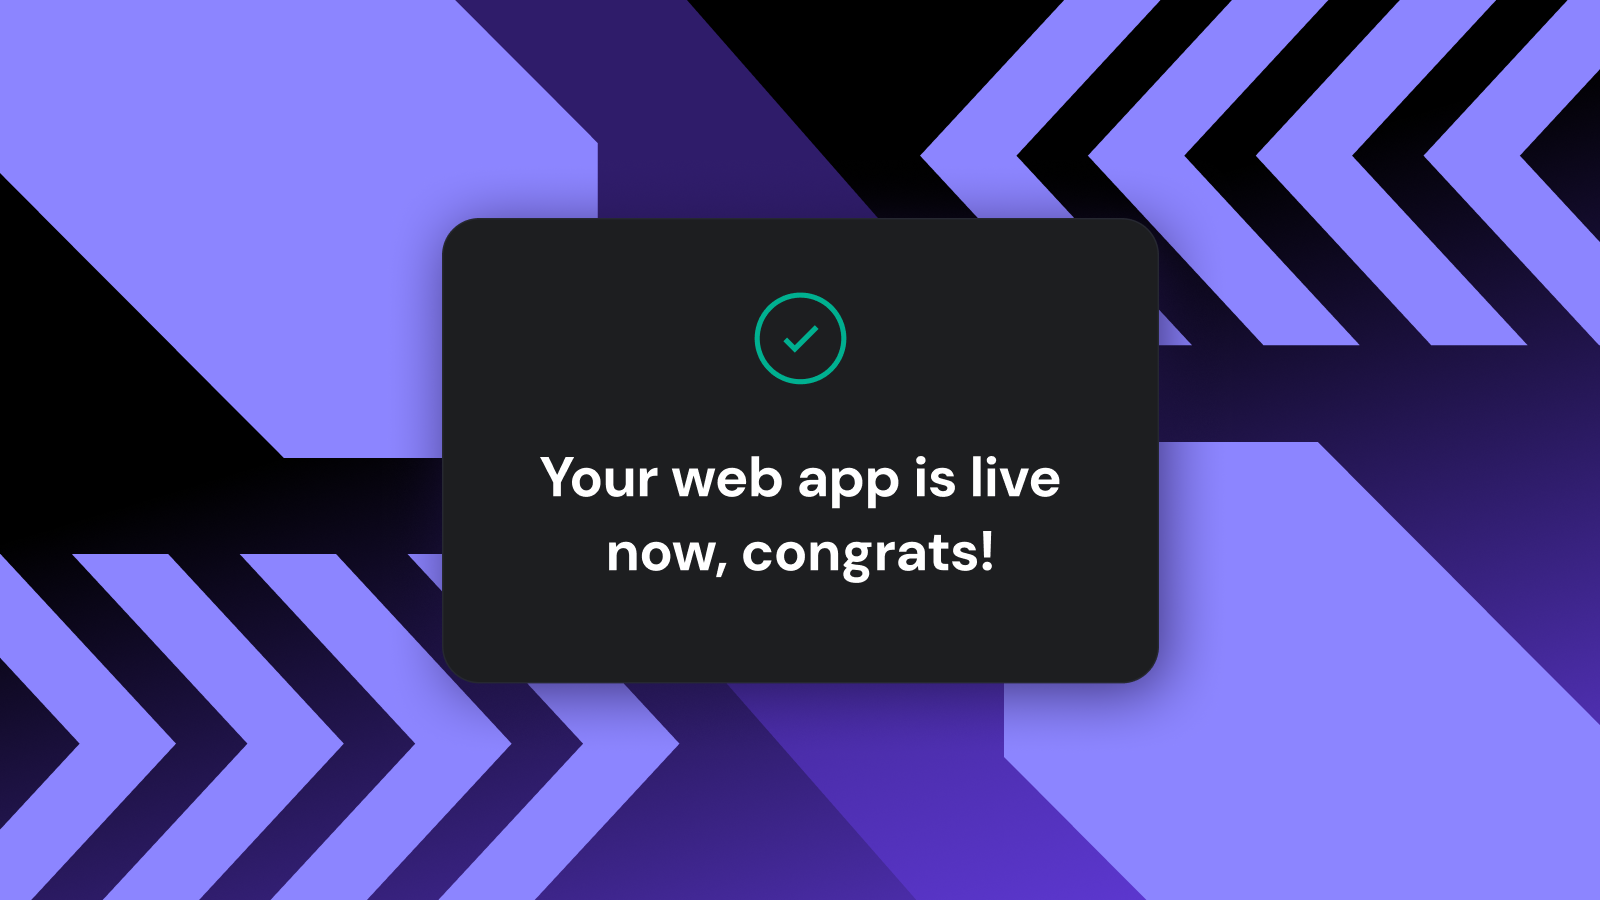
After finishing the rest of the steps, I got a pop-up saying my domain was successfully registered. As with websites, it can take up to 24 hours for the domain to fully propagate.
What’s next?
This was my first time building a web app from scratch, and it was a fun experience. Hostinger Horizons made the process very easy for someone who doesn’t know how to code like me.
That said, I realized my prompts could have been clearer, as I had to repeat my requests a few times before getting exactly what I wanted. Learning about AI prompt engineering should be super helpful if you want to get the best results with this tool.
All in all, I’m happy with the features I was able to implement in my app, and I’m planning to improve them. Who knows? Maybe someday I can monetize it and build success online with it. You can do the same.

Larassatti Dharma is a Content Writer with 3+ years of experience in the web hosting industry. She’s also a WordPress contributor who loves to share helpful content with others. When she's not writing, Laras enjoys learning foreign languages and traveling. Follow her on LinkedIn