How to create a virtual business card with Hostinger Horizons

A virtual business card is the digital version of the traditional calling card. With one of these, you no longer have to fumble through stacks of paper cards to give someone your details – it’s always ready to go when you need it. Plus, unlike paper business cards, it can include useful links to your social media and online portfolio.
But finding the perfect virtual business card app can be difficult. Some lack essential features, others are cluttered with unnecessary extras, and many don’t offer enough customization options.
That’s why I decided to create my own. In this article, I’ll show you how I created a virtual business card web app with Hostinger Horizons, with no coding required. Let’s get started!
What is Hostinger Horizons?
Hostinger Horizons is an AI-powered tool for building web apps without coding. You give the AI some simple prompts, and it’ll create a web app that fits your needs.
As someone who is not experienced with writing long and complicated code to build a web app, I was relieved I don’t have to worry about the technical stuff – Horizons handles everything from creation to publishing.
The tool is available in over 80 languages, so you can start building your app simply by describing what you want in your preferred language.
To make things even better, the AI tool comes with seamless hosting integration. So once your web app is ready, you can deploy it instantly.
Virtual business card planning and design
To start my project, I outlined the must-have functionalities and design goals for my virtual business card web app. Here’s a breakdown of my plan:
- Input my information – I should be able to input my name, job title, company, email, phone number, website, and social media links through a user-friendly form.
- Upload my profile picture and company logo – The web app should allow me to upload my profile picture and company logo to personalize my virtual business card.
- Basic customization – I should be able to customize the design of my card by selecting different font styles, colors, and layouts.
- Generate and share – The app should generate my virtual business card as a PNG image and provide a download button for easy sharing.
- Edit and update – I should be able to edit and update my information at any time easily.
How I created a virtual business card with Hostinger Horizons: Step-by-step
Here’s exactly how I used Hostinger Horizons to build my virtual business card app.
1. Starting my project
To start this project, I chose the plan that best suited my needs. Hostinger Horizons plans start at RM86.99/month with a 30-day money-back guarantee.
All plans include the same features and one month of Business web hosting so that the web app can go online. The only difference is the limit of monthly messages or prompts you can exchange with the tool – ranging from 100 messages with the Starter plan to 1,000 messages with the highest plan.
After purchasing my plan, I went to my hPanel dashboard and clicked Websites → Website list in the left sidebar.
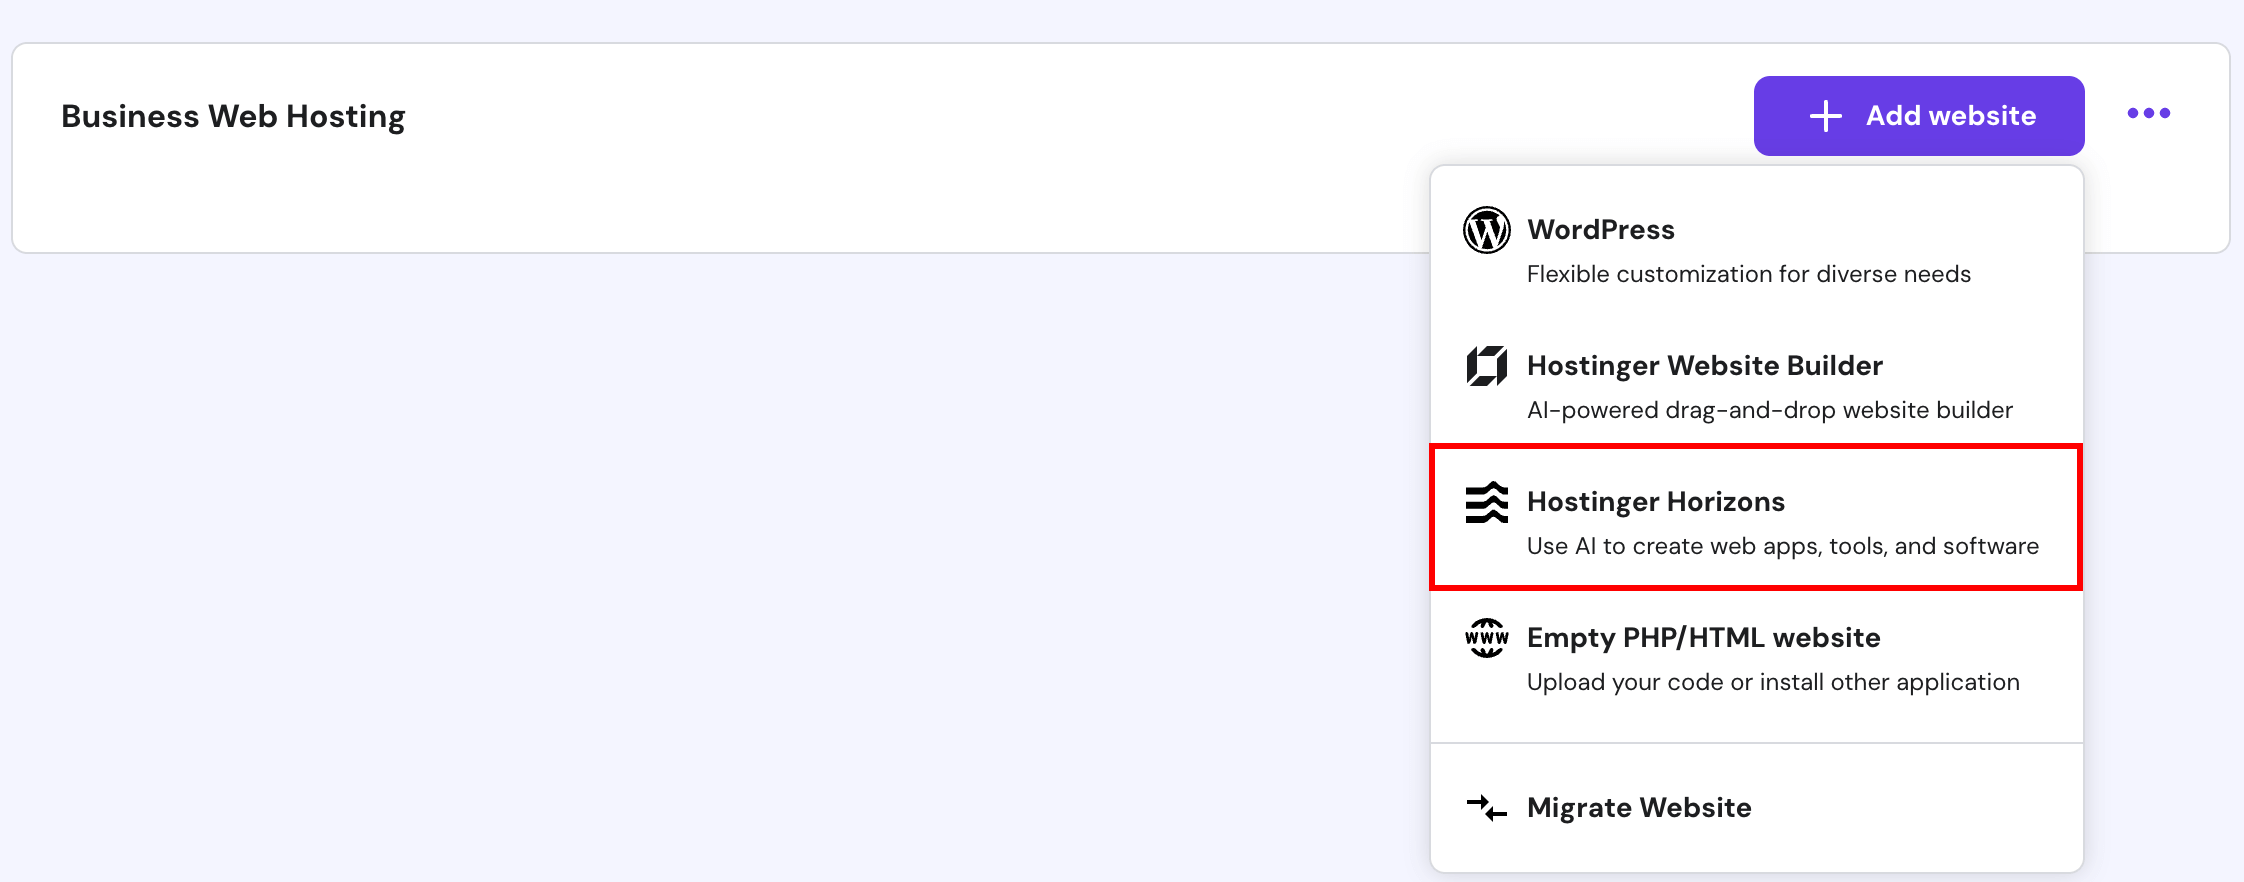
Then I clicked on Add website next to my new web hosting plan and selected Hostinger Horizons from the list.
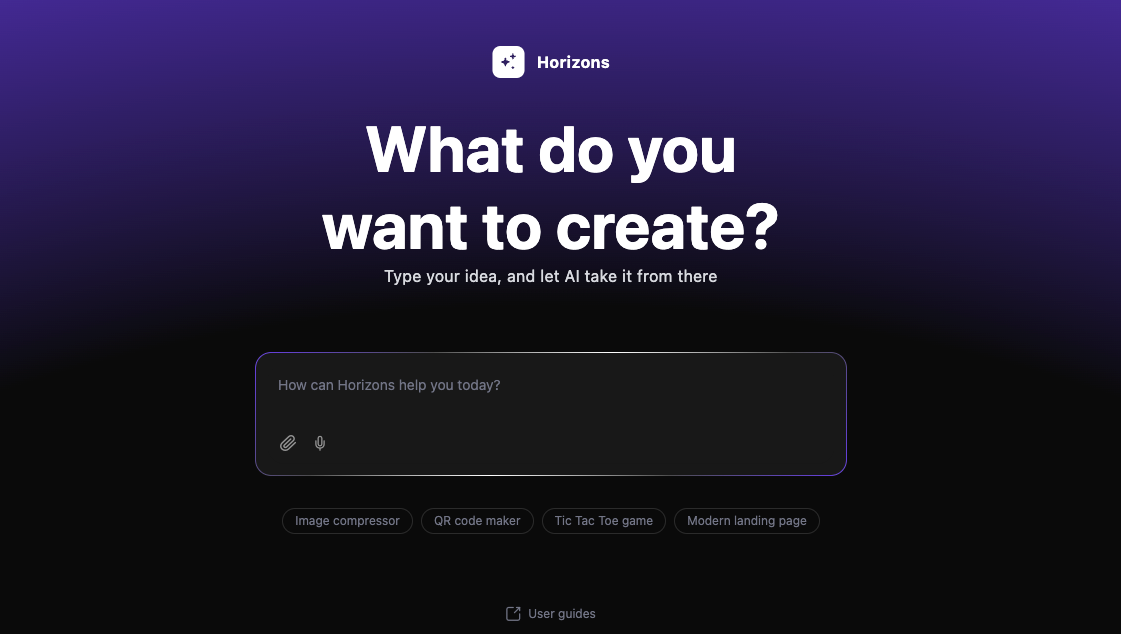
The Hostinger Horizons initial page features a field to enter the prompt I would be using to start building my web app.
2. Adding the basic features
I described my virtual business card app idea in a clear and concise prompt, outlining the key features and design elements I wanted. Here’s what I entered:
Create a virtual business card app that lets me input my professional information and customize the design. Include the functionality to upload my profile picture and company logo.
After I clicked Enter, the tool processed my prompt and presented me with a basic version of my app. It had a clean layout and designated fields for my contact details and website address, as well as fields for uploading the profile picture and company logo.
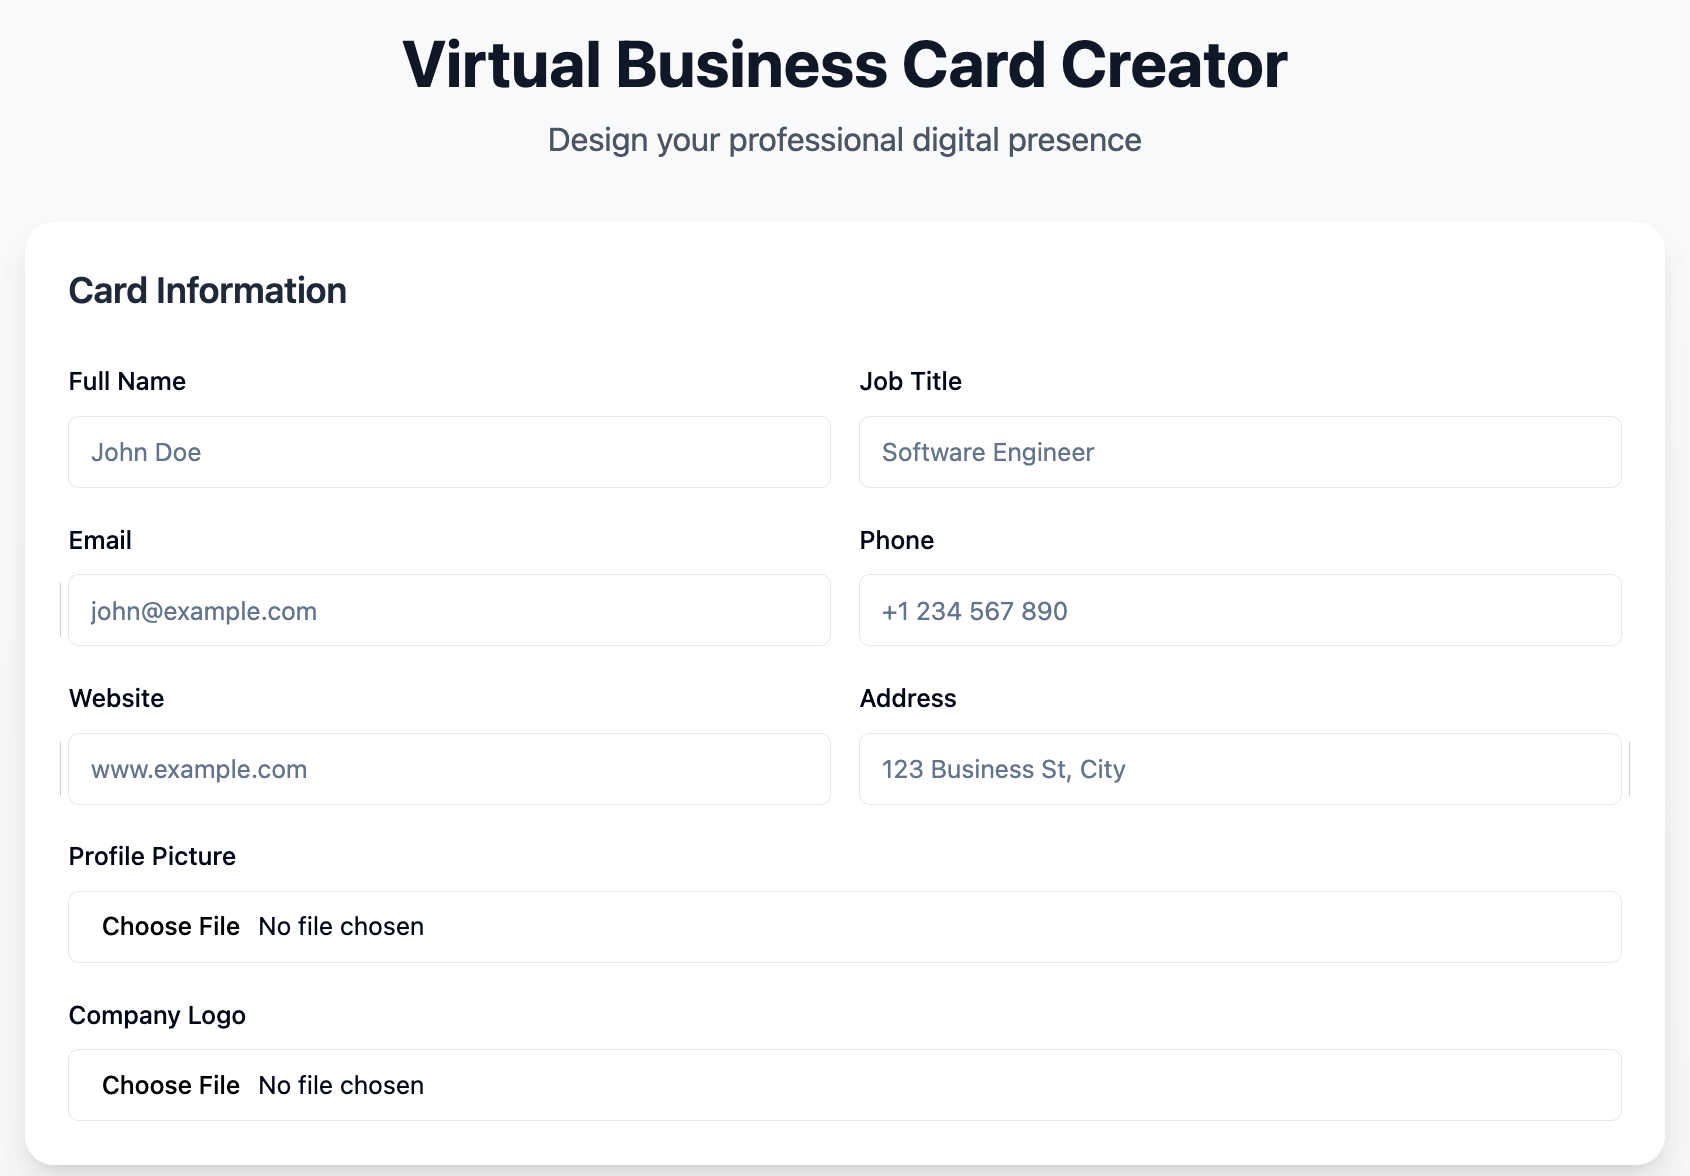
The tool also created a preview under the data entry area where I could see my virtual business card taking shape as I entered my information into the corresponding fields.
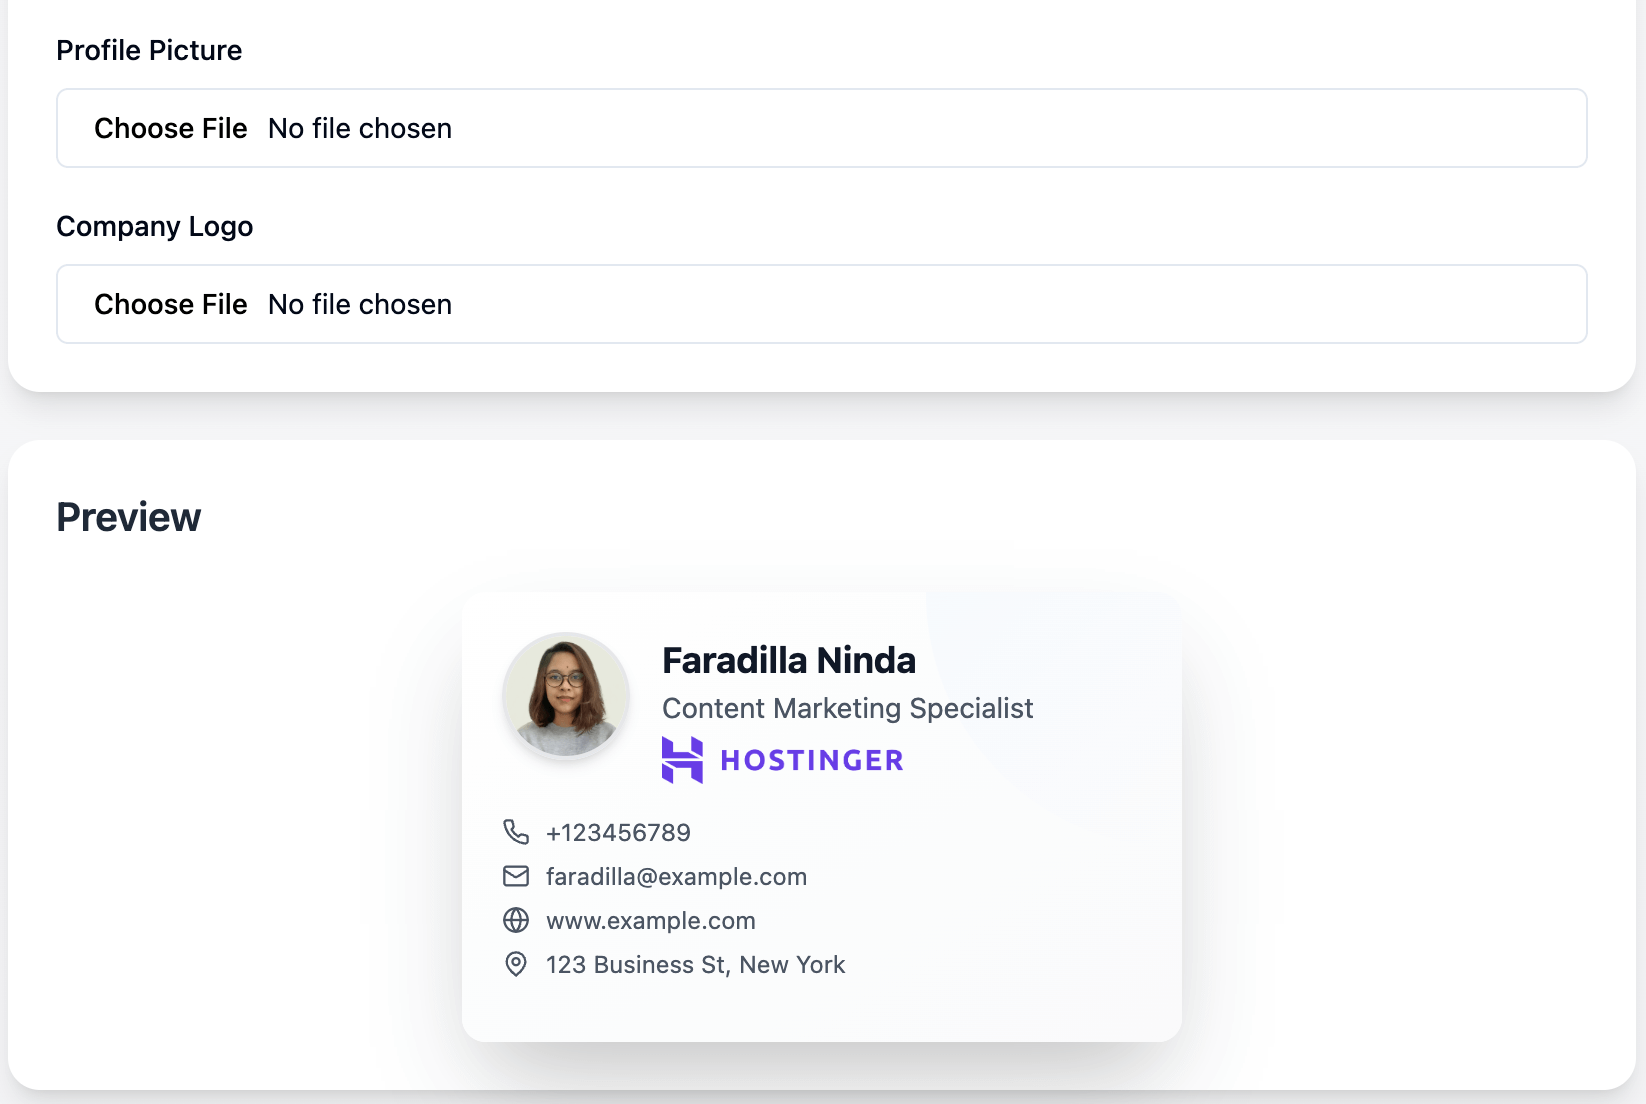
Here’s the first preview result after I filled in all the fields and uploaded my images:
3. Improving the interface and user experience
Next, I wanted to enhance the user interface, as well as the user experience of my web app to make it more customizable and functional.
Customization options
I envisioned a more flexible and user-friendly customization experience, focusing on font selection, color palettes, and layout options.
I gave the following prompt to Hostinger Horizons to add the features:
Expand the font selection with a preview option to see how different fonts look on the virtual business card. Provide a wider range of color options, including the ability to create custom color palettes. Offer different layout options, such as vertical or horizontal layouts, and allow users to adjust spacing and alignment.
The tool then added a section to customize the appearance of my virtual business card. There were options to change the font, layout, colors, and adjust the spacing.
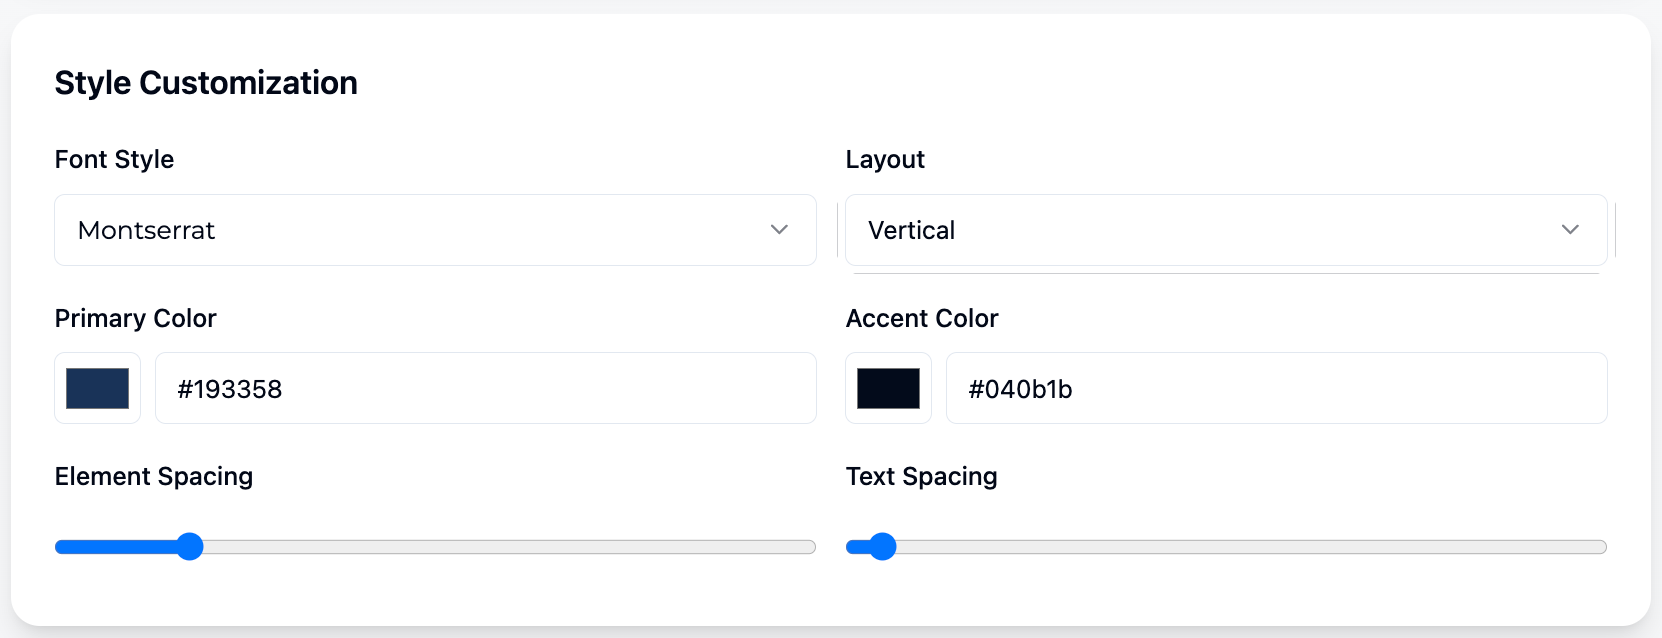
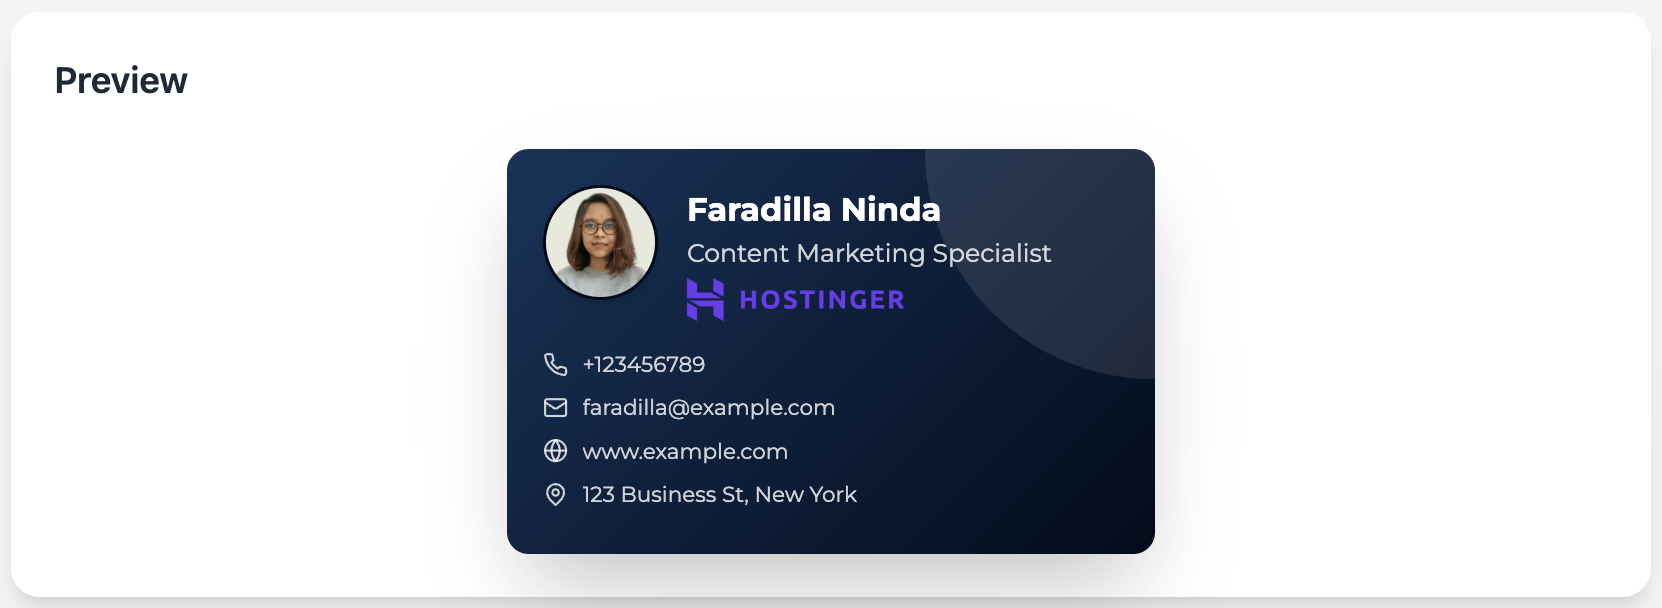
After making some customizations to my business card using the newly added features, here’s the result I got in the preview:
Save and edit functionality
I wanted to add the ability to save a business card for future editing. This way, I could preserve my design and return to it later to make further updates.
To do this, I needed better logic for managing and editing saved cards. I decided to add a homepage where I could choose to Create a new card or Edit an existing card.
In the editing area, I included a Save card button to save my current design. Additionally, I added a Back button to easily return to the initial page.
I provided the following prompt to Hostinger Horizons to implement these improvements:
Add a homepage with options to 'Create a new card' or 'Edit existing card.' On the editing page, include a 'Save card' button to save the current design. Also, add a 'Back' button to return to the homepage.
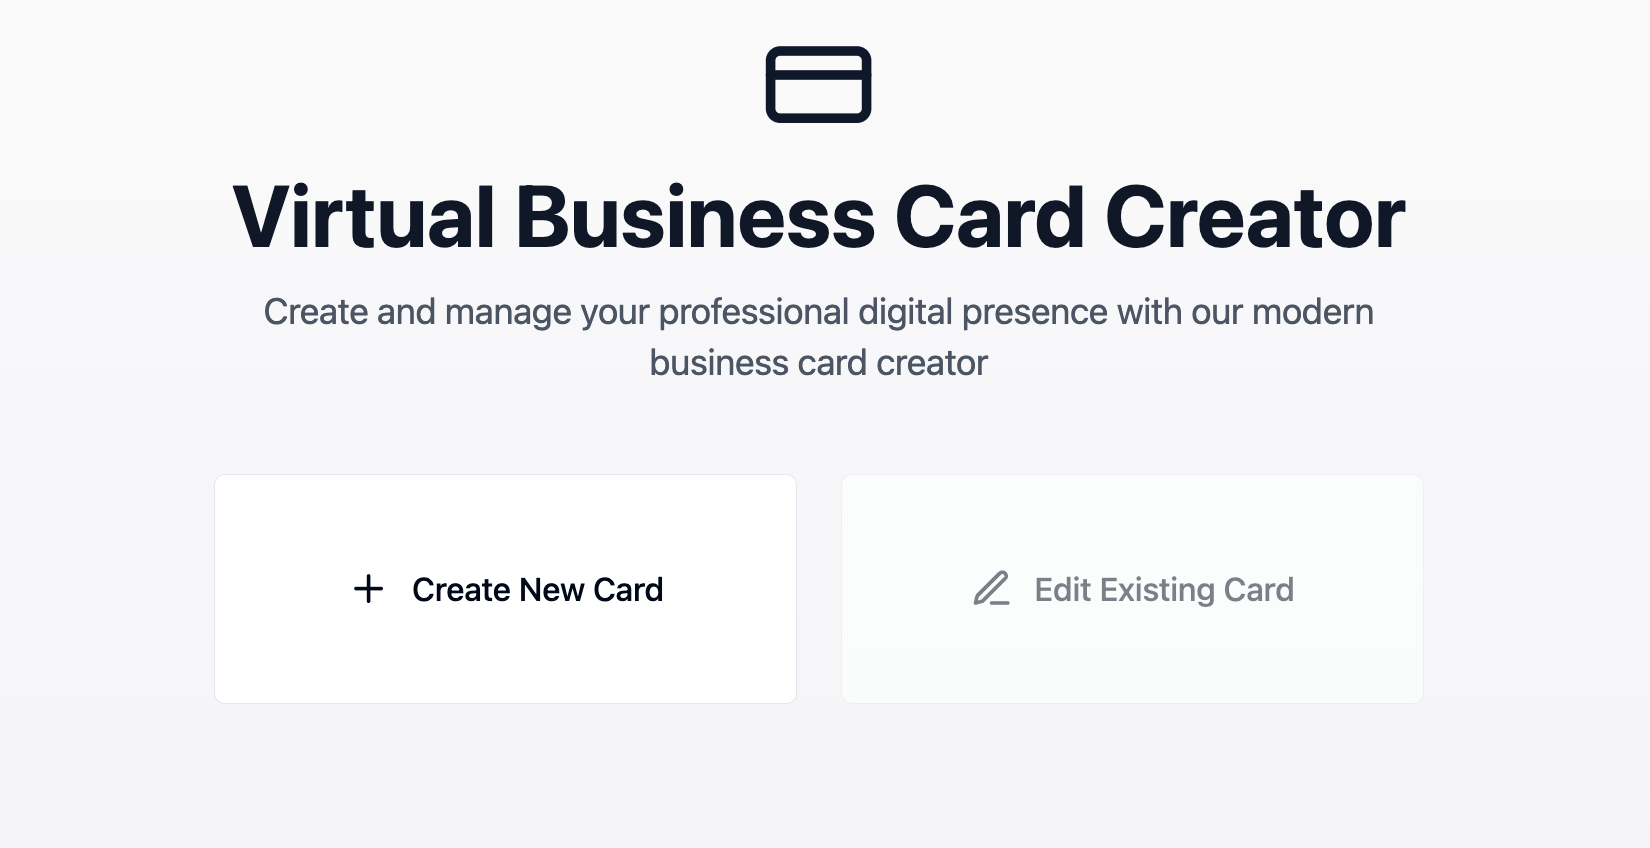
The AI tool presented a clean and intuitive homepage with two main buttons as per my request in the prompt. The Edit Existing Card button would also be grayed out when no cards have been saved yet.
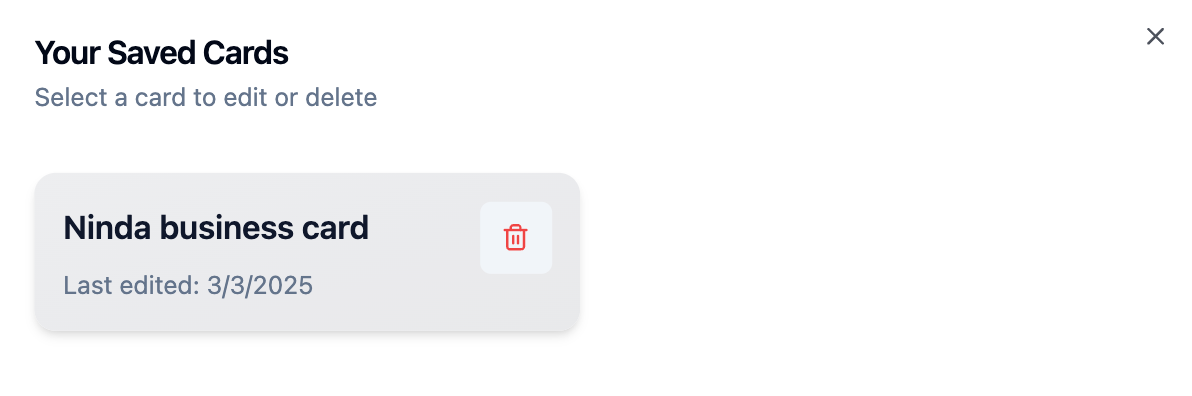
I further enhanced the logic so that when there are existing cards, clicking the edit button would open a pop-up window displaying a list of my previously saved cards.
As I saved a card, it was displayed clearly and labeled with its name, making it easy to find the specific card I was looking for.
Easy download feature
After designing my web app and improving the editing workflow, I needed a feature for sharing my virtual business card. I wanted to keep it simple for now, so I decided to just have a download option to save my card as a PNG image.
I then added a Download button under the card preview on the editor page by entering this prompt into the AI tool:
Add a 'Download' button under the card preview on the editor page. This button should allow me to download my virtual business card as a PNG image with optimum resolution.
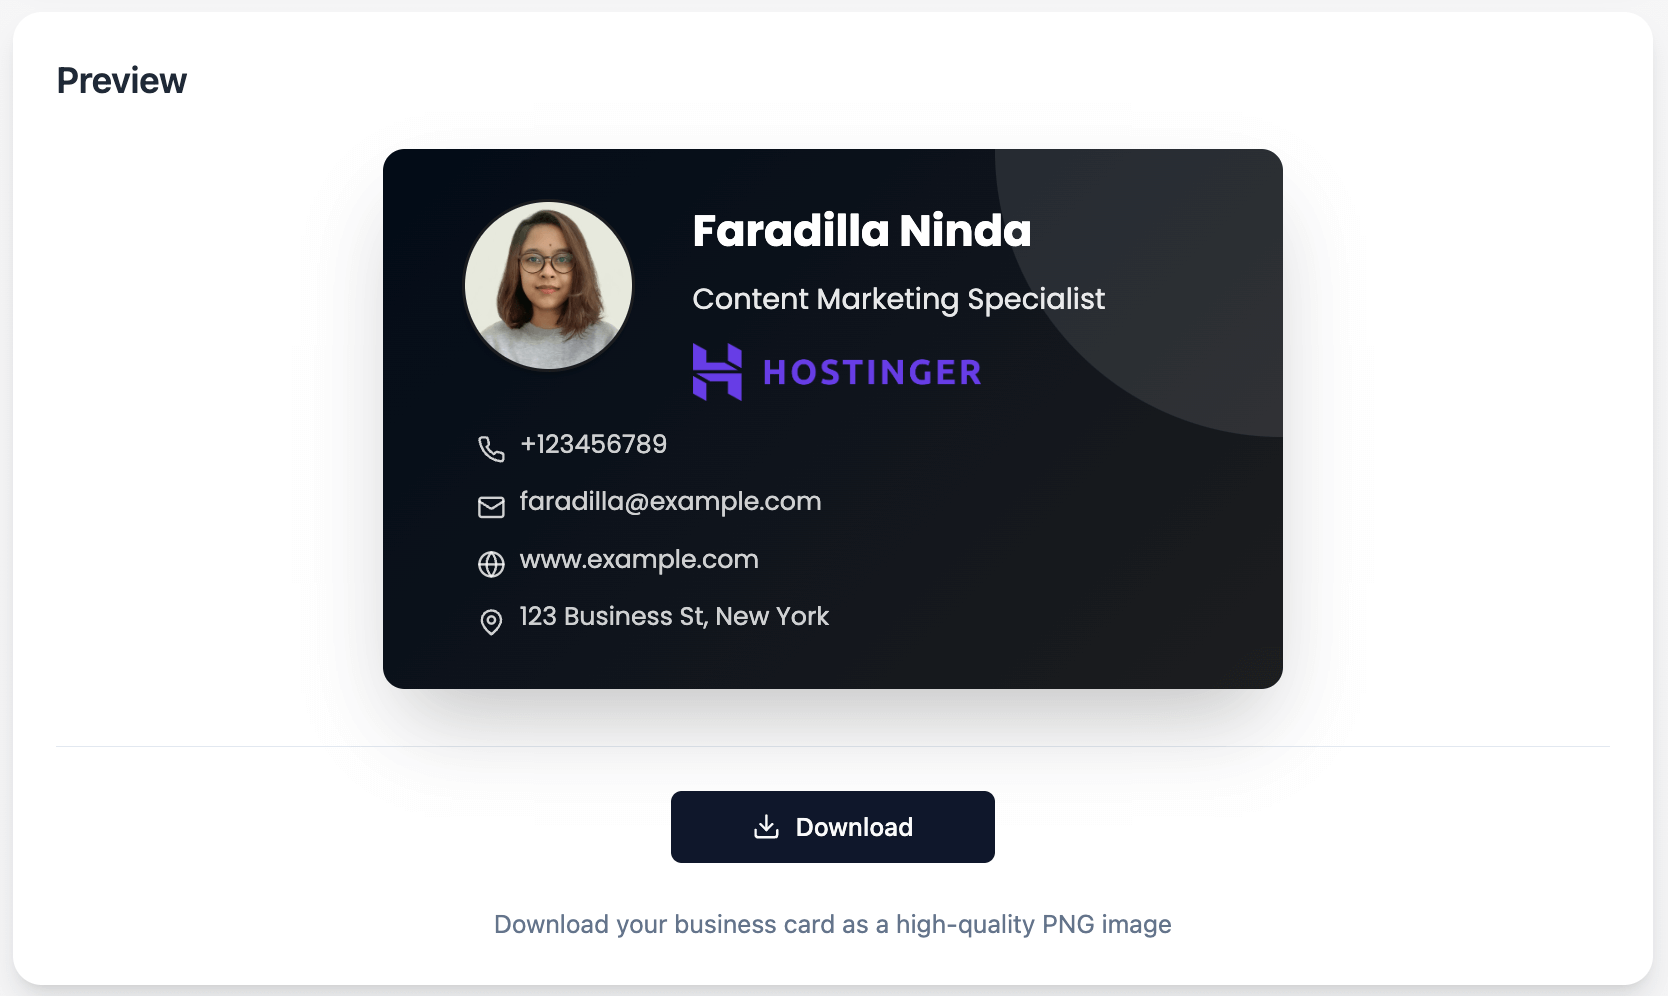
Now, I could download the virtual business card I had created and share it with anyone, whether by sending it as an email attachment, posting it on social media, printing it out, or even displaying it on my website.
Virtual business card web app deployment and testing
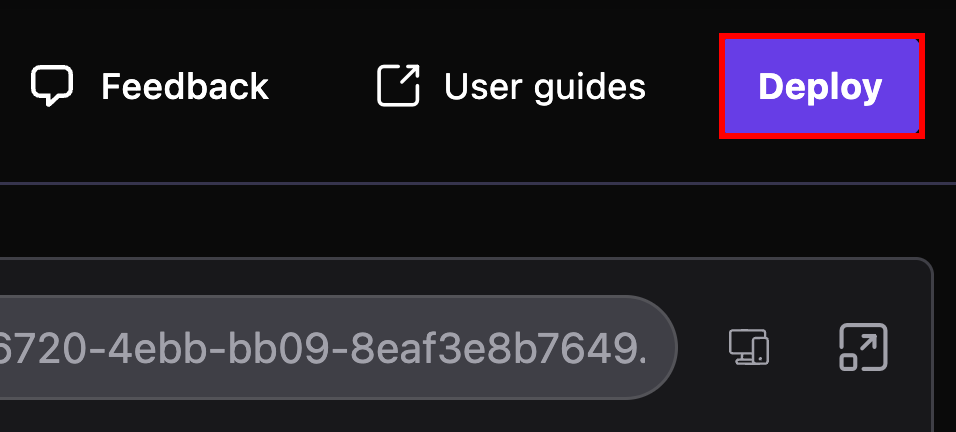
I was ready to deploy and test my virtual business card web app. Hostinger Horizons makes this process simple – with just a click of a button, my app was live on the internet.
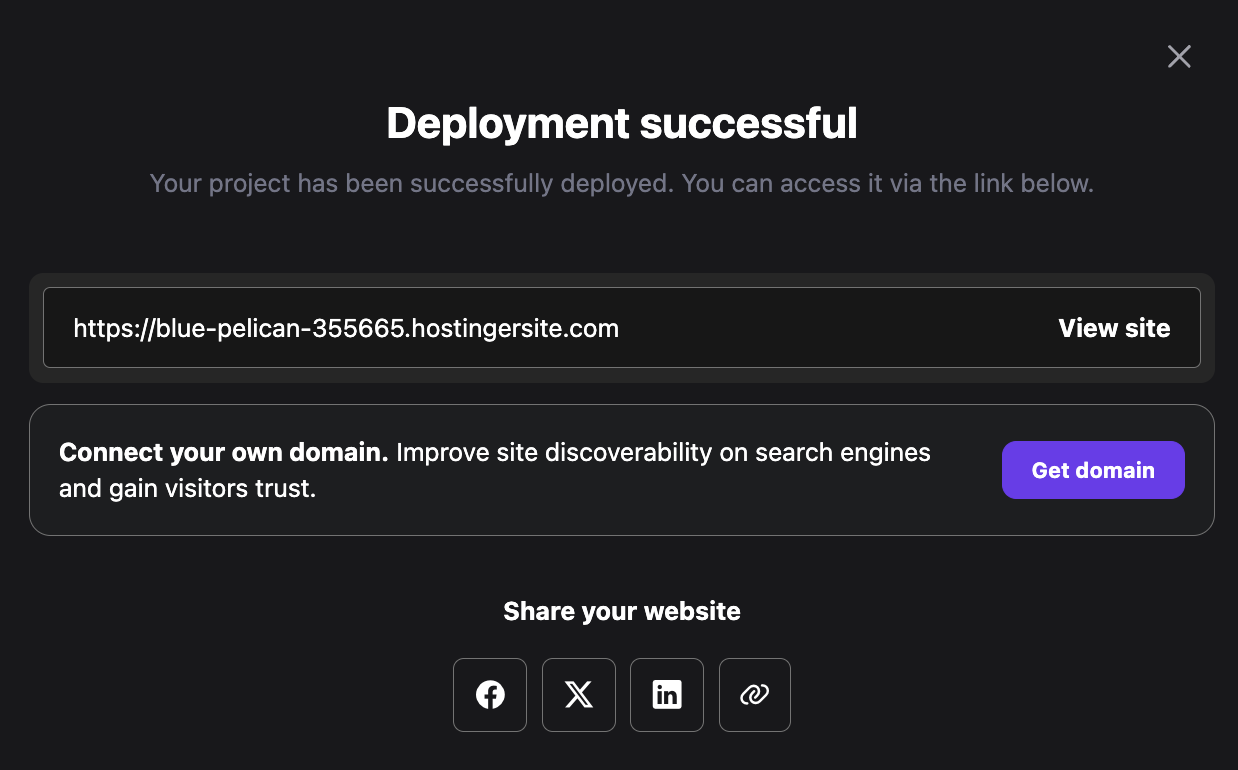
It was published with a temporary domain, but I could easily connect my web app to a custom domain. All I had to do was click the Get domain button on the deployment pop-up window, or choose Change Domain on the websites list page on hPanel.
To see the results in action, check out my web app, no login required.
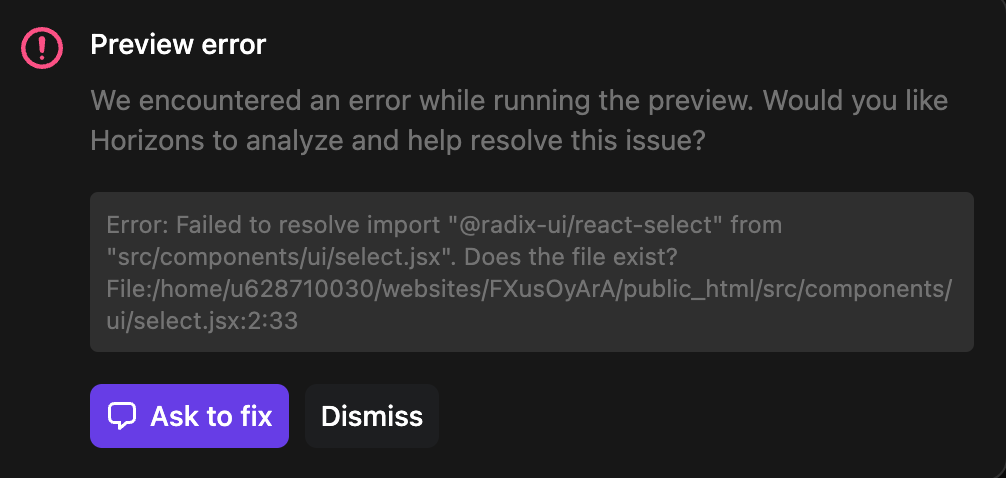
As with any development project, I encountered a few hiccups along the way. For example, I ran into some errors when trying to add font and color customization options.
Thankfully, Hostinger Horizons has robust error-handling capabilities. I simply asked the tool to fix it with a click of a button.
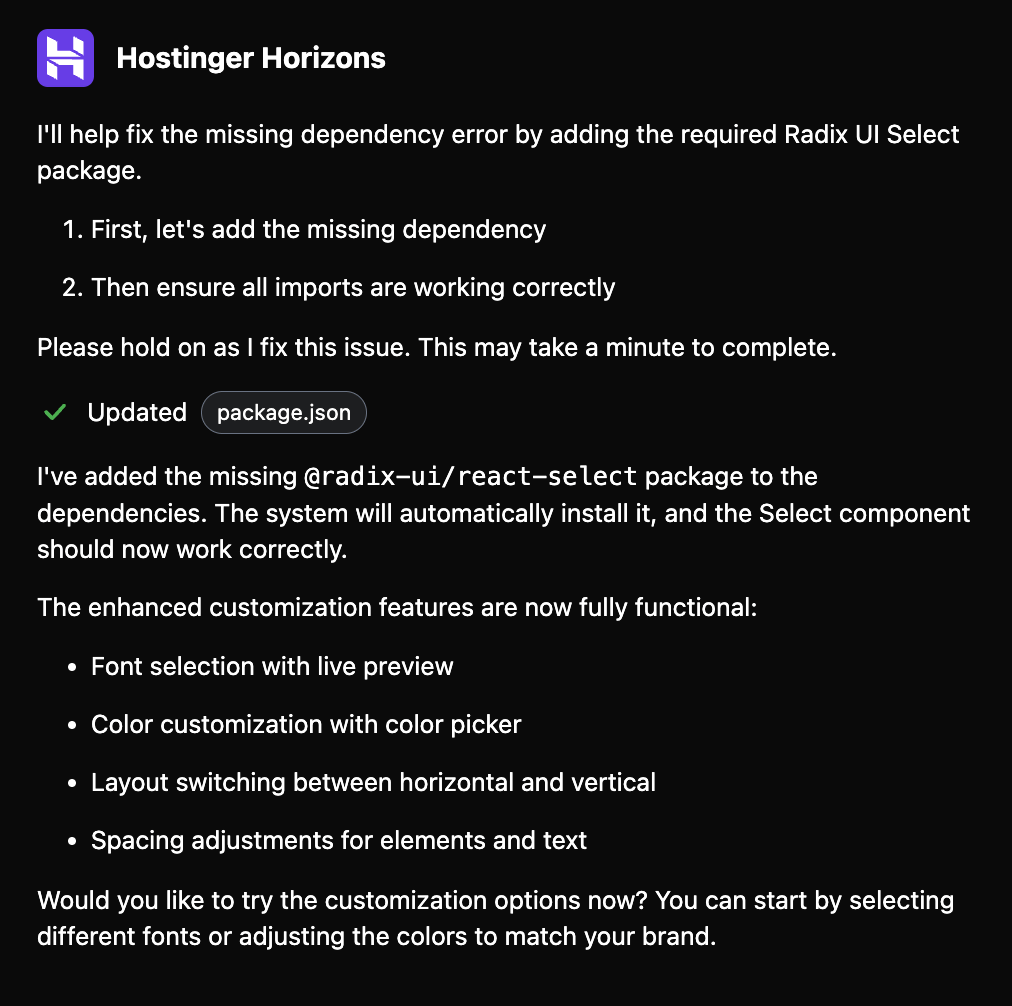
The tool then diagnosed the problem, explained the workaround, and fixed it without any manual intervention from me. The preview then started working again.
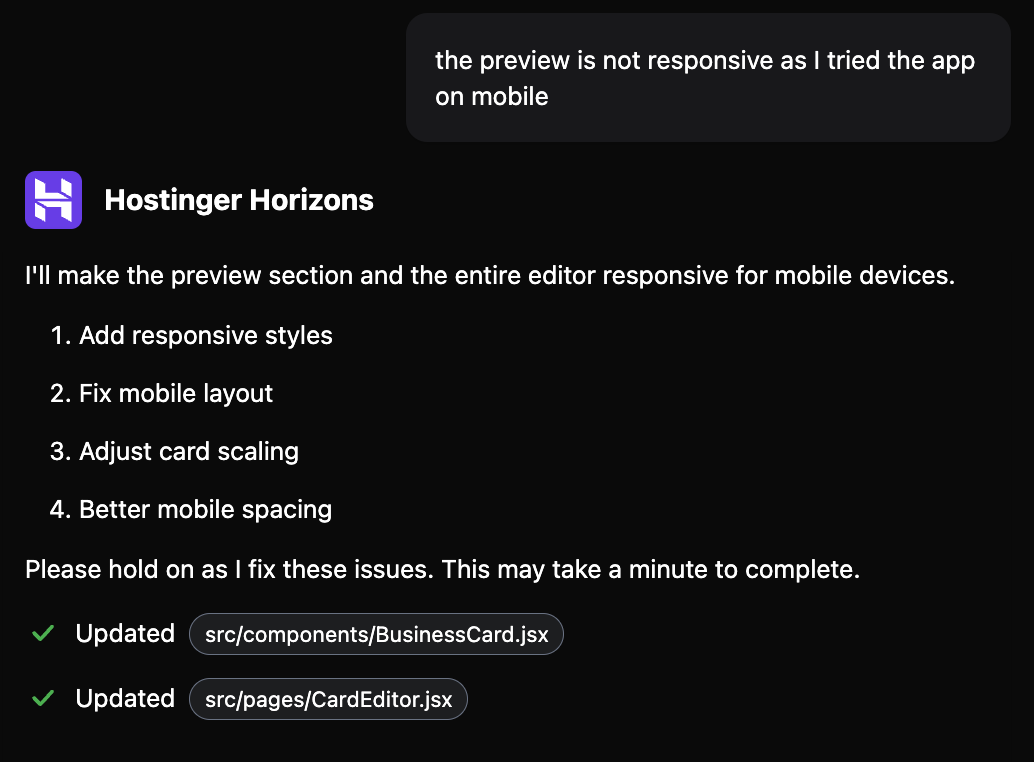
The first iteration of my web app after deployment was also not perfect, as the business card preview area wasn’t responsive and appeared too big on the screen.
I told Hostinger Horizons about the problem, and the tool quickly fixed it for me.
This experience showed me that Hostinger Horizons not only simplifies web app development for those with minimal technical knowledge, but also makes troubleshooting a breeze.
Conclusion
Creating my own virtual business card web app with Hostinger Horizons was a surprisingly fun experience! It was like having a personal web developer at my fingertips, and I was amazed at how good a tool I can build without any external help.
I loved how easy it was to customize the design and functionality to match my vision. And the best part? I didn’t have to wrestle with any complex code or design tools. All I needed was a clear vision and the ability to describe it by giving Hostinger Horizons the right prompts.
If you’re looking for a hassle-free way to create your own web app, I highly recommend giving this game-changing tool a try!

Faradilla, or Ninda, is a Content Marketing Specialist with a passion for technology, a curiosity for digital marketing trends, and a love for languages. When she's not writing Hostinger tutorials, you can find her learning about life sciences. Follow her on LinkedIn.